[gtranslate]
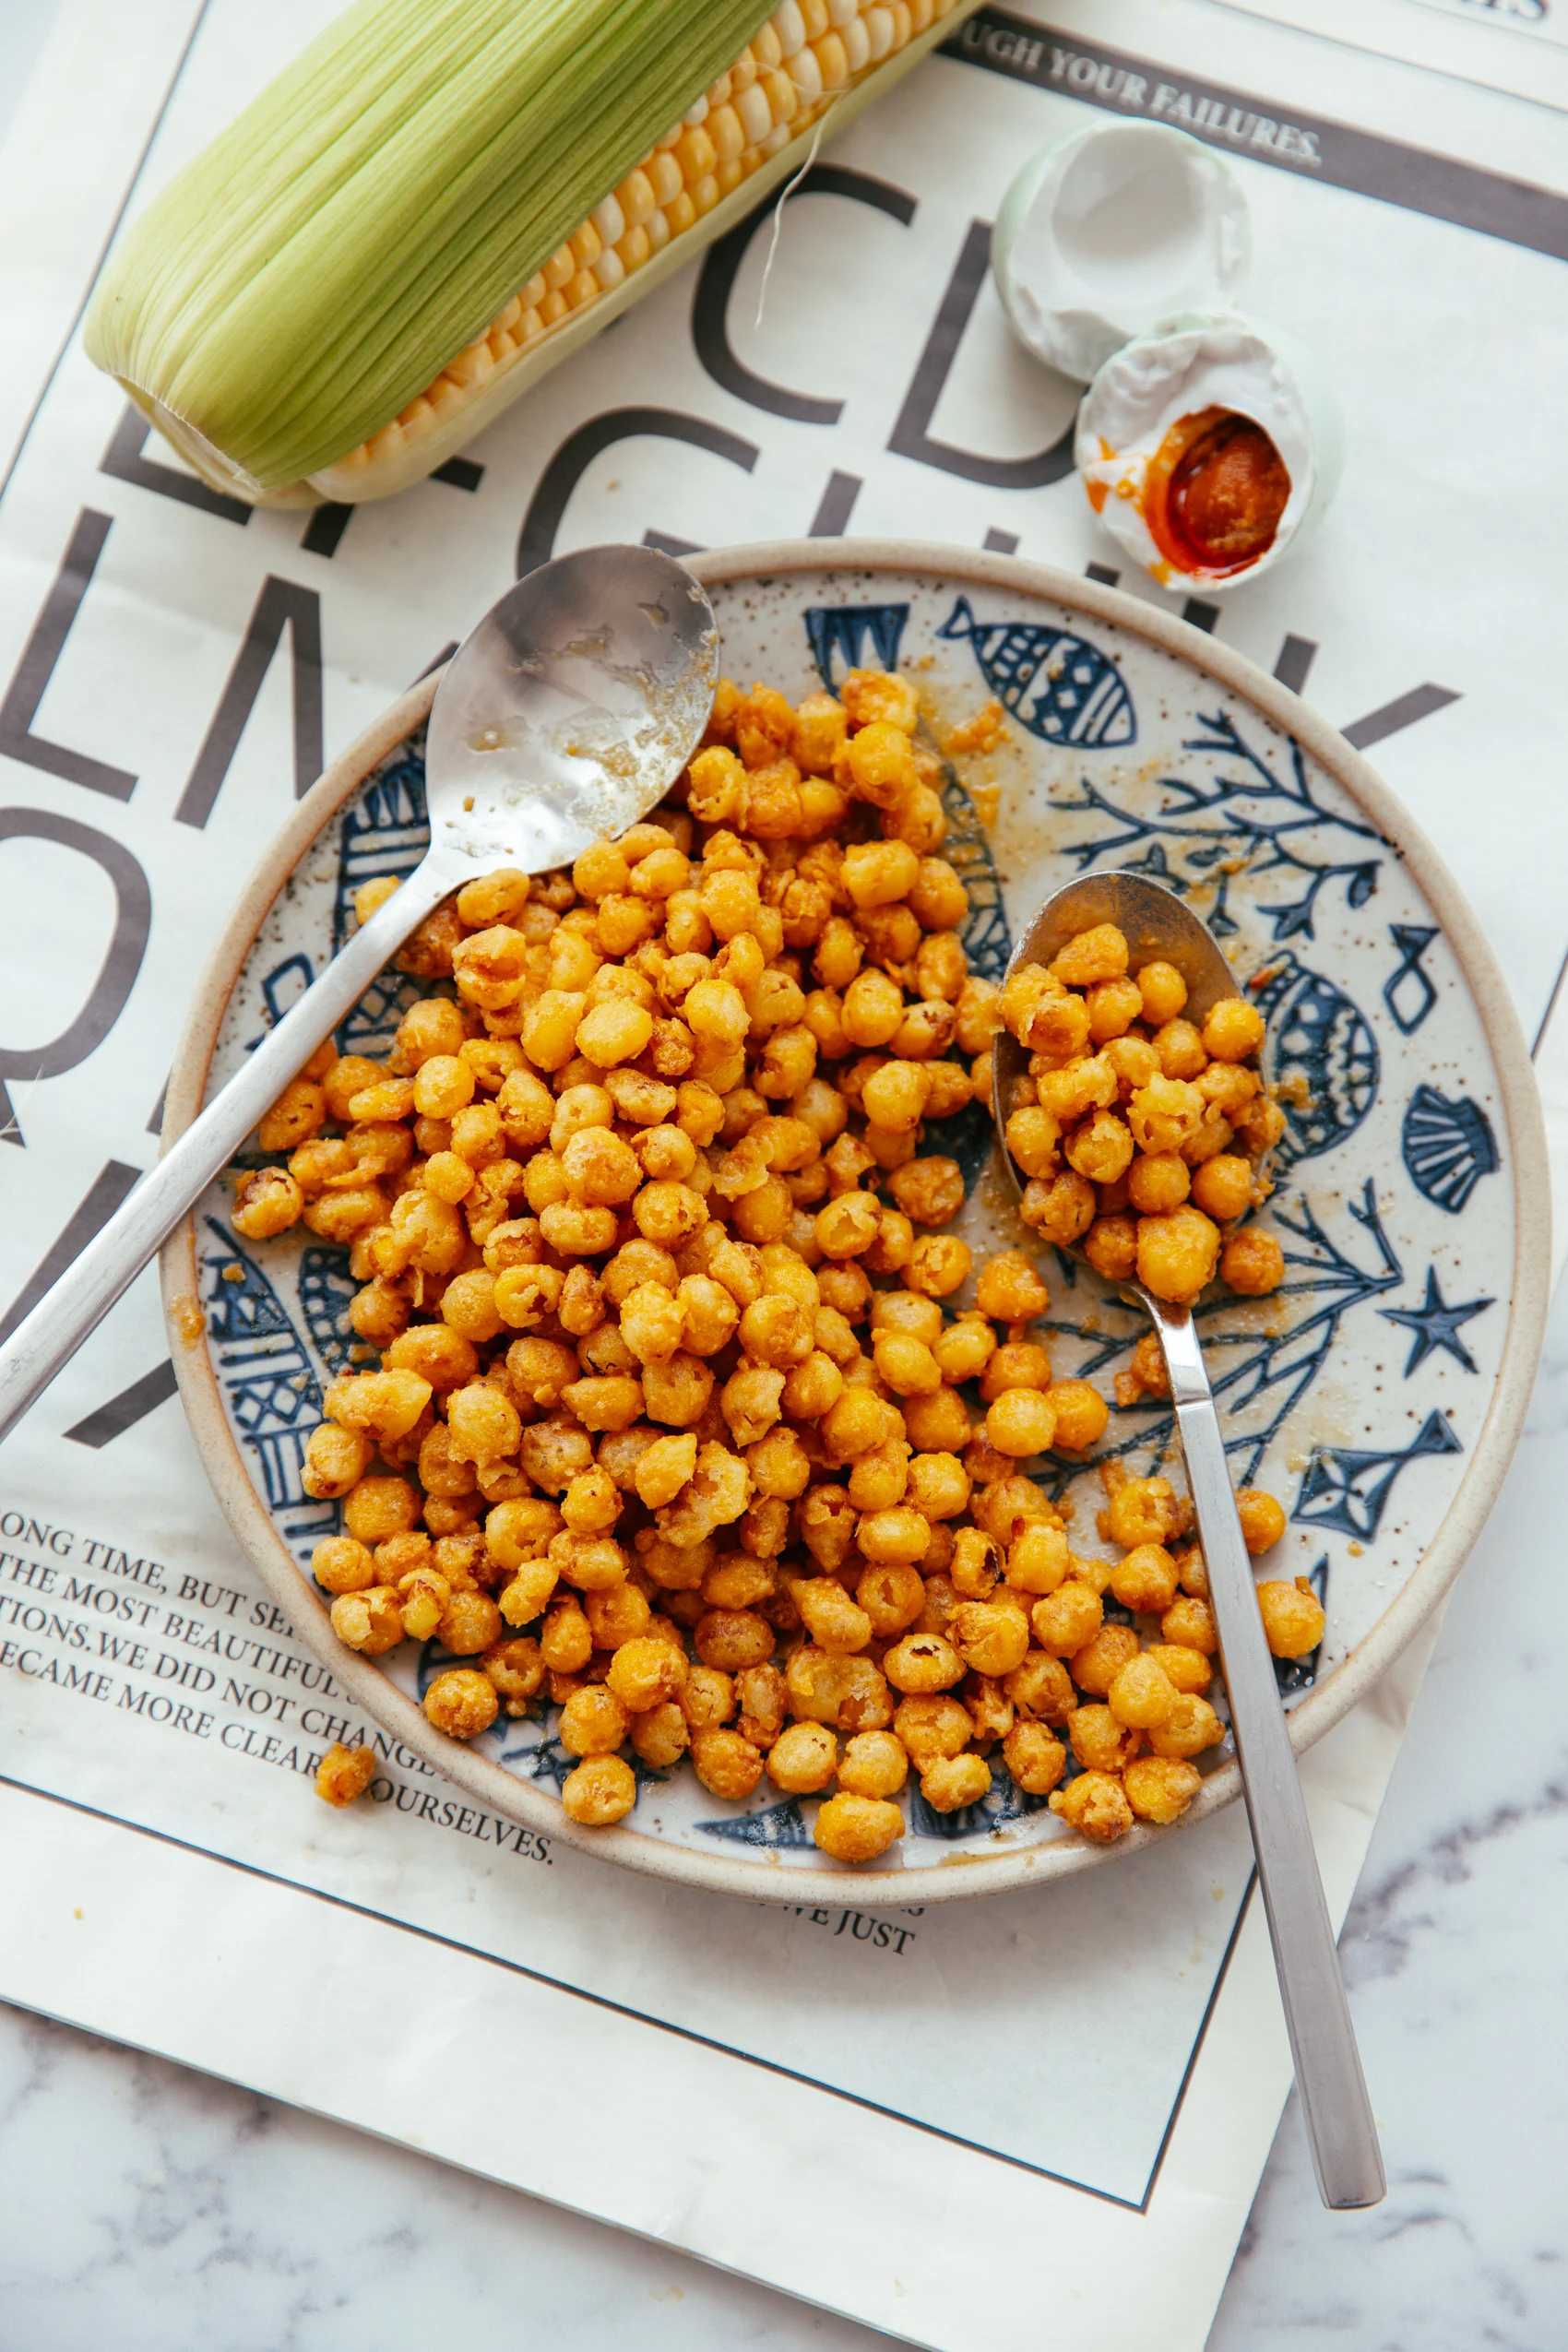
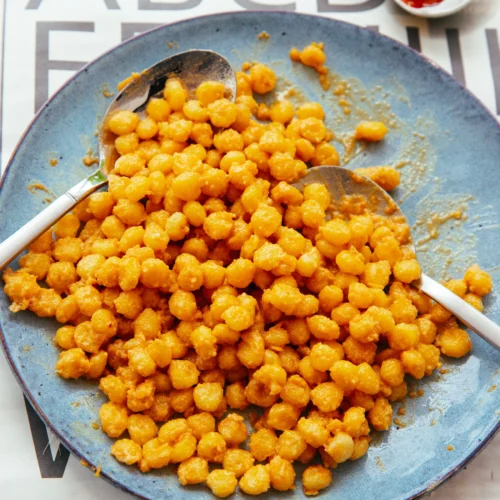
After making the easy and successful salted egg yolk, it is time to introduce some of the best ways of enjoying it. And this is a famous Chinese snack for the holiday table- crispy corn with salted egg yolk.
The corn is well-deep-fried after being coated with cornstarch to create a crispy shell. Then we will add a layer of salted egg yolk on those crispy little bites. That’s absolutely a comforting dish.
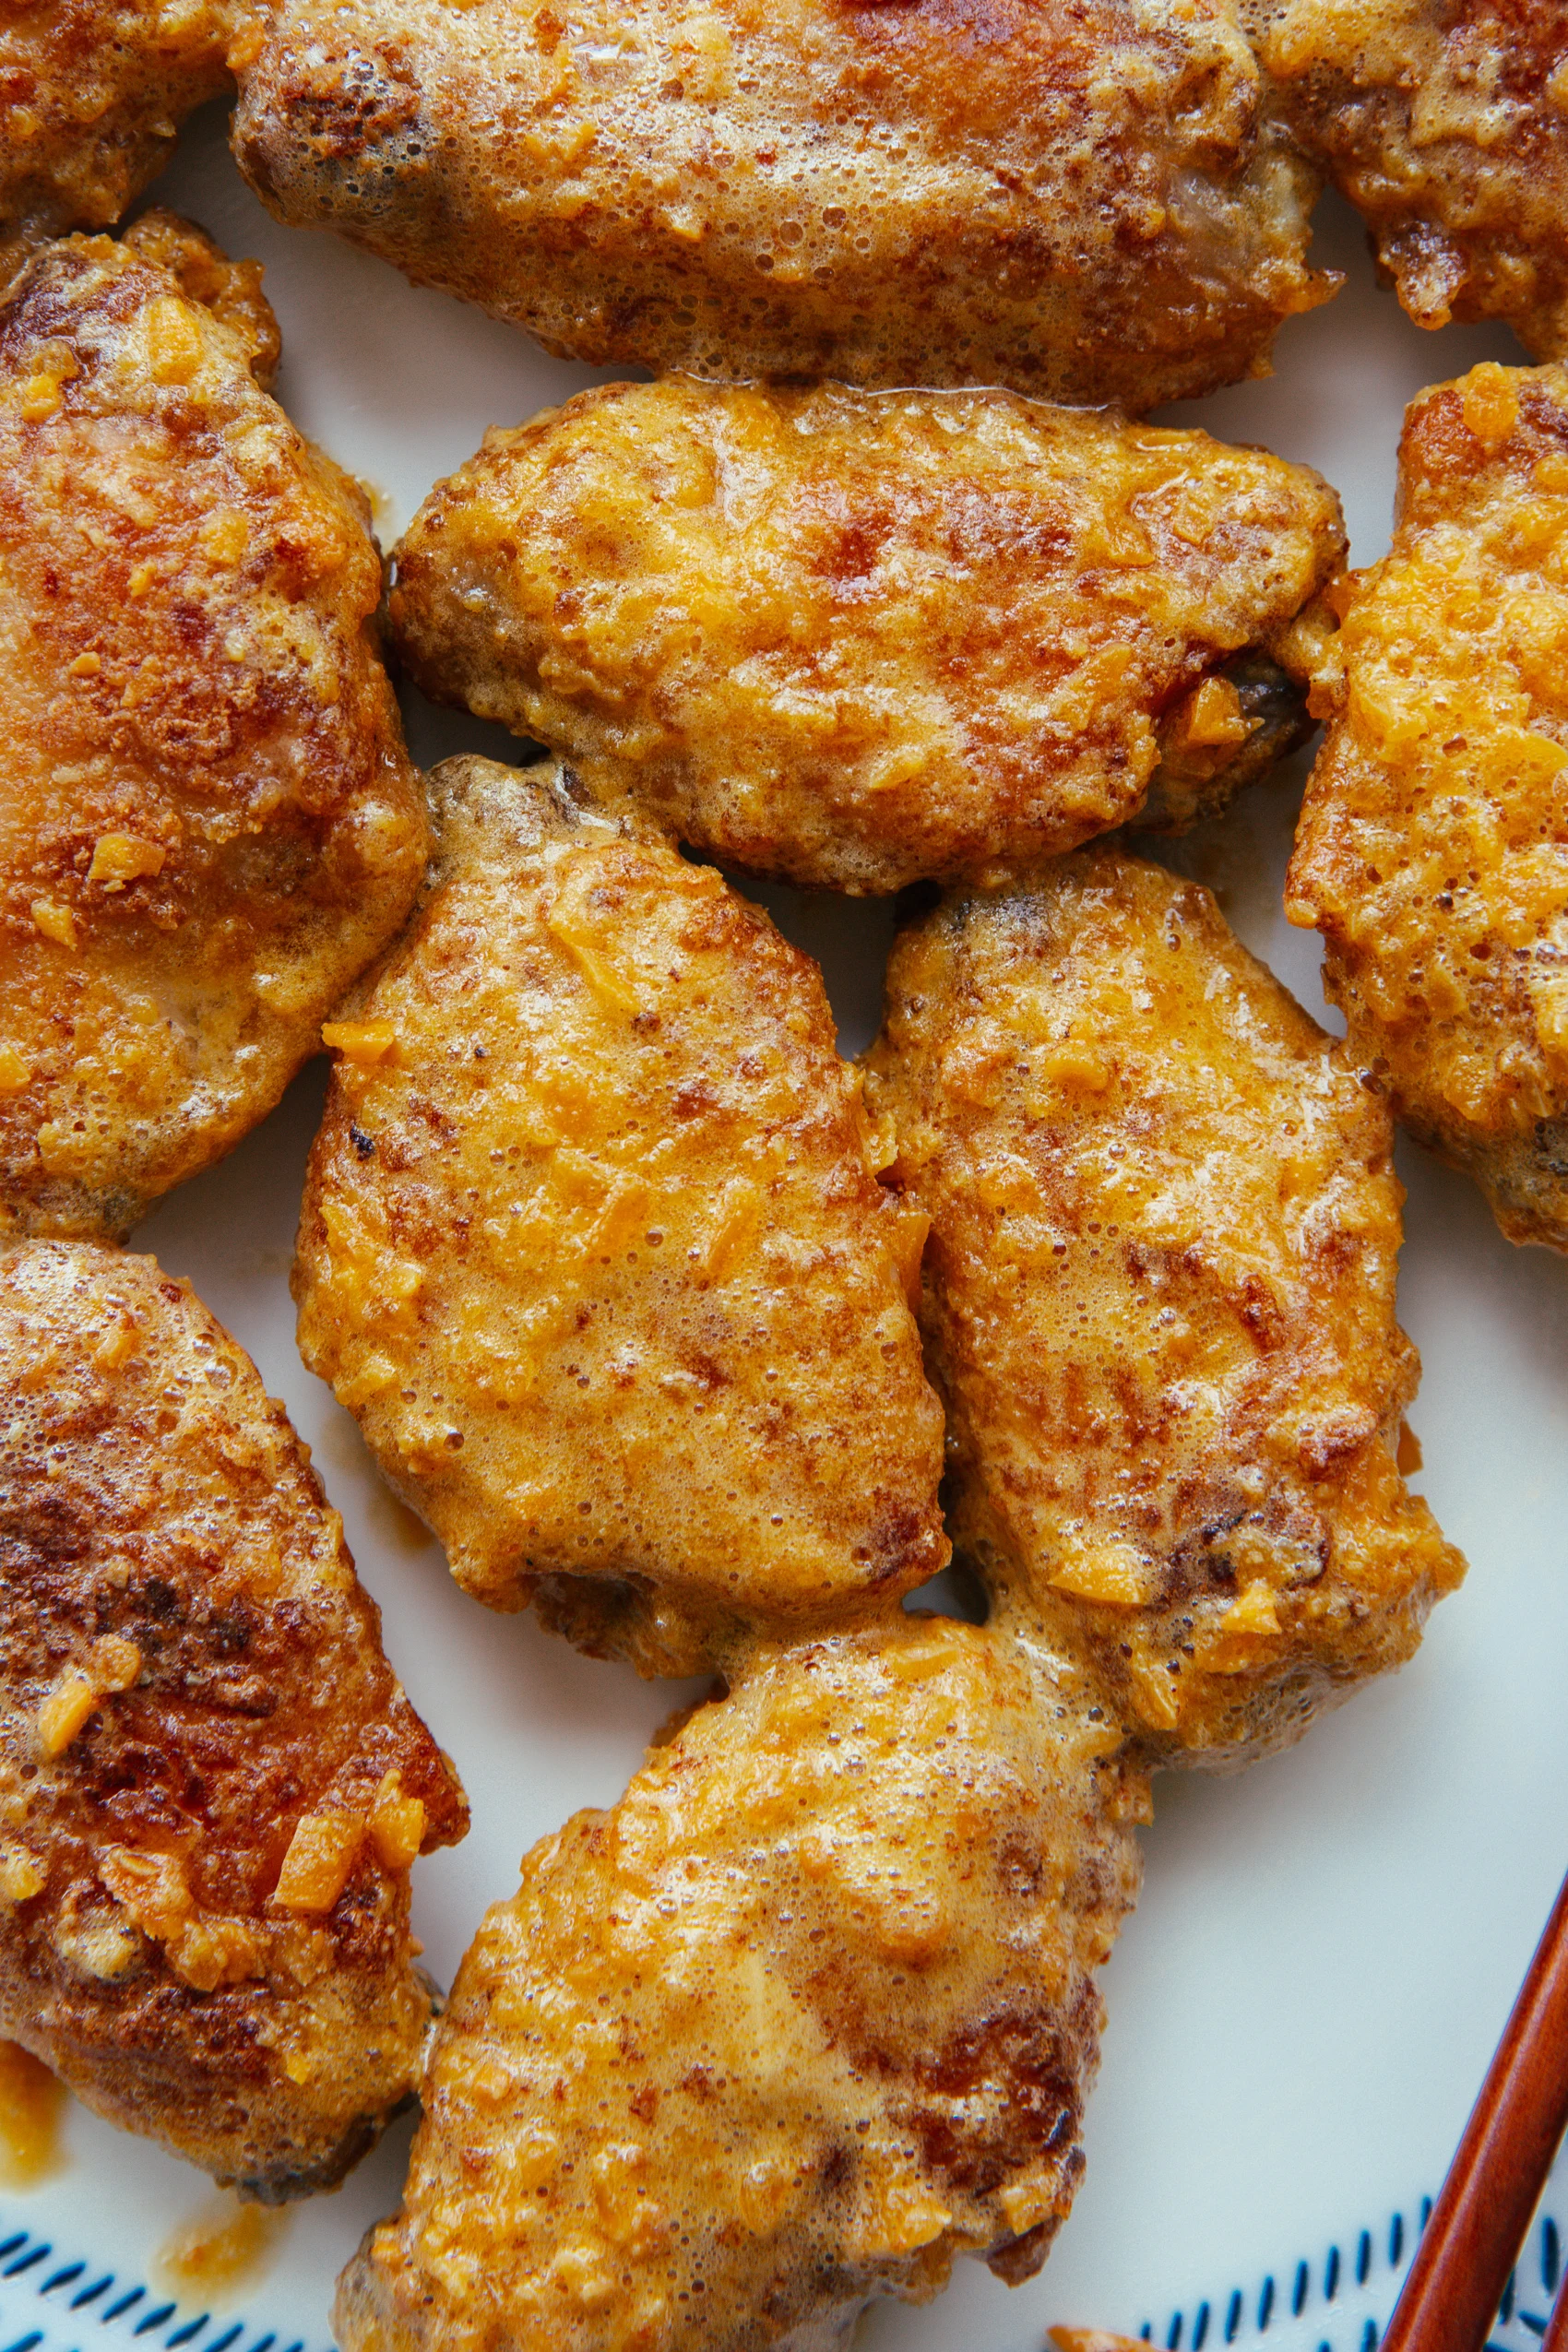
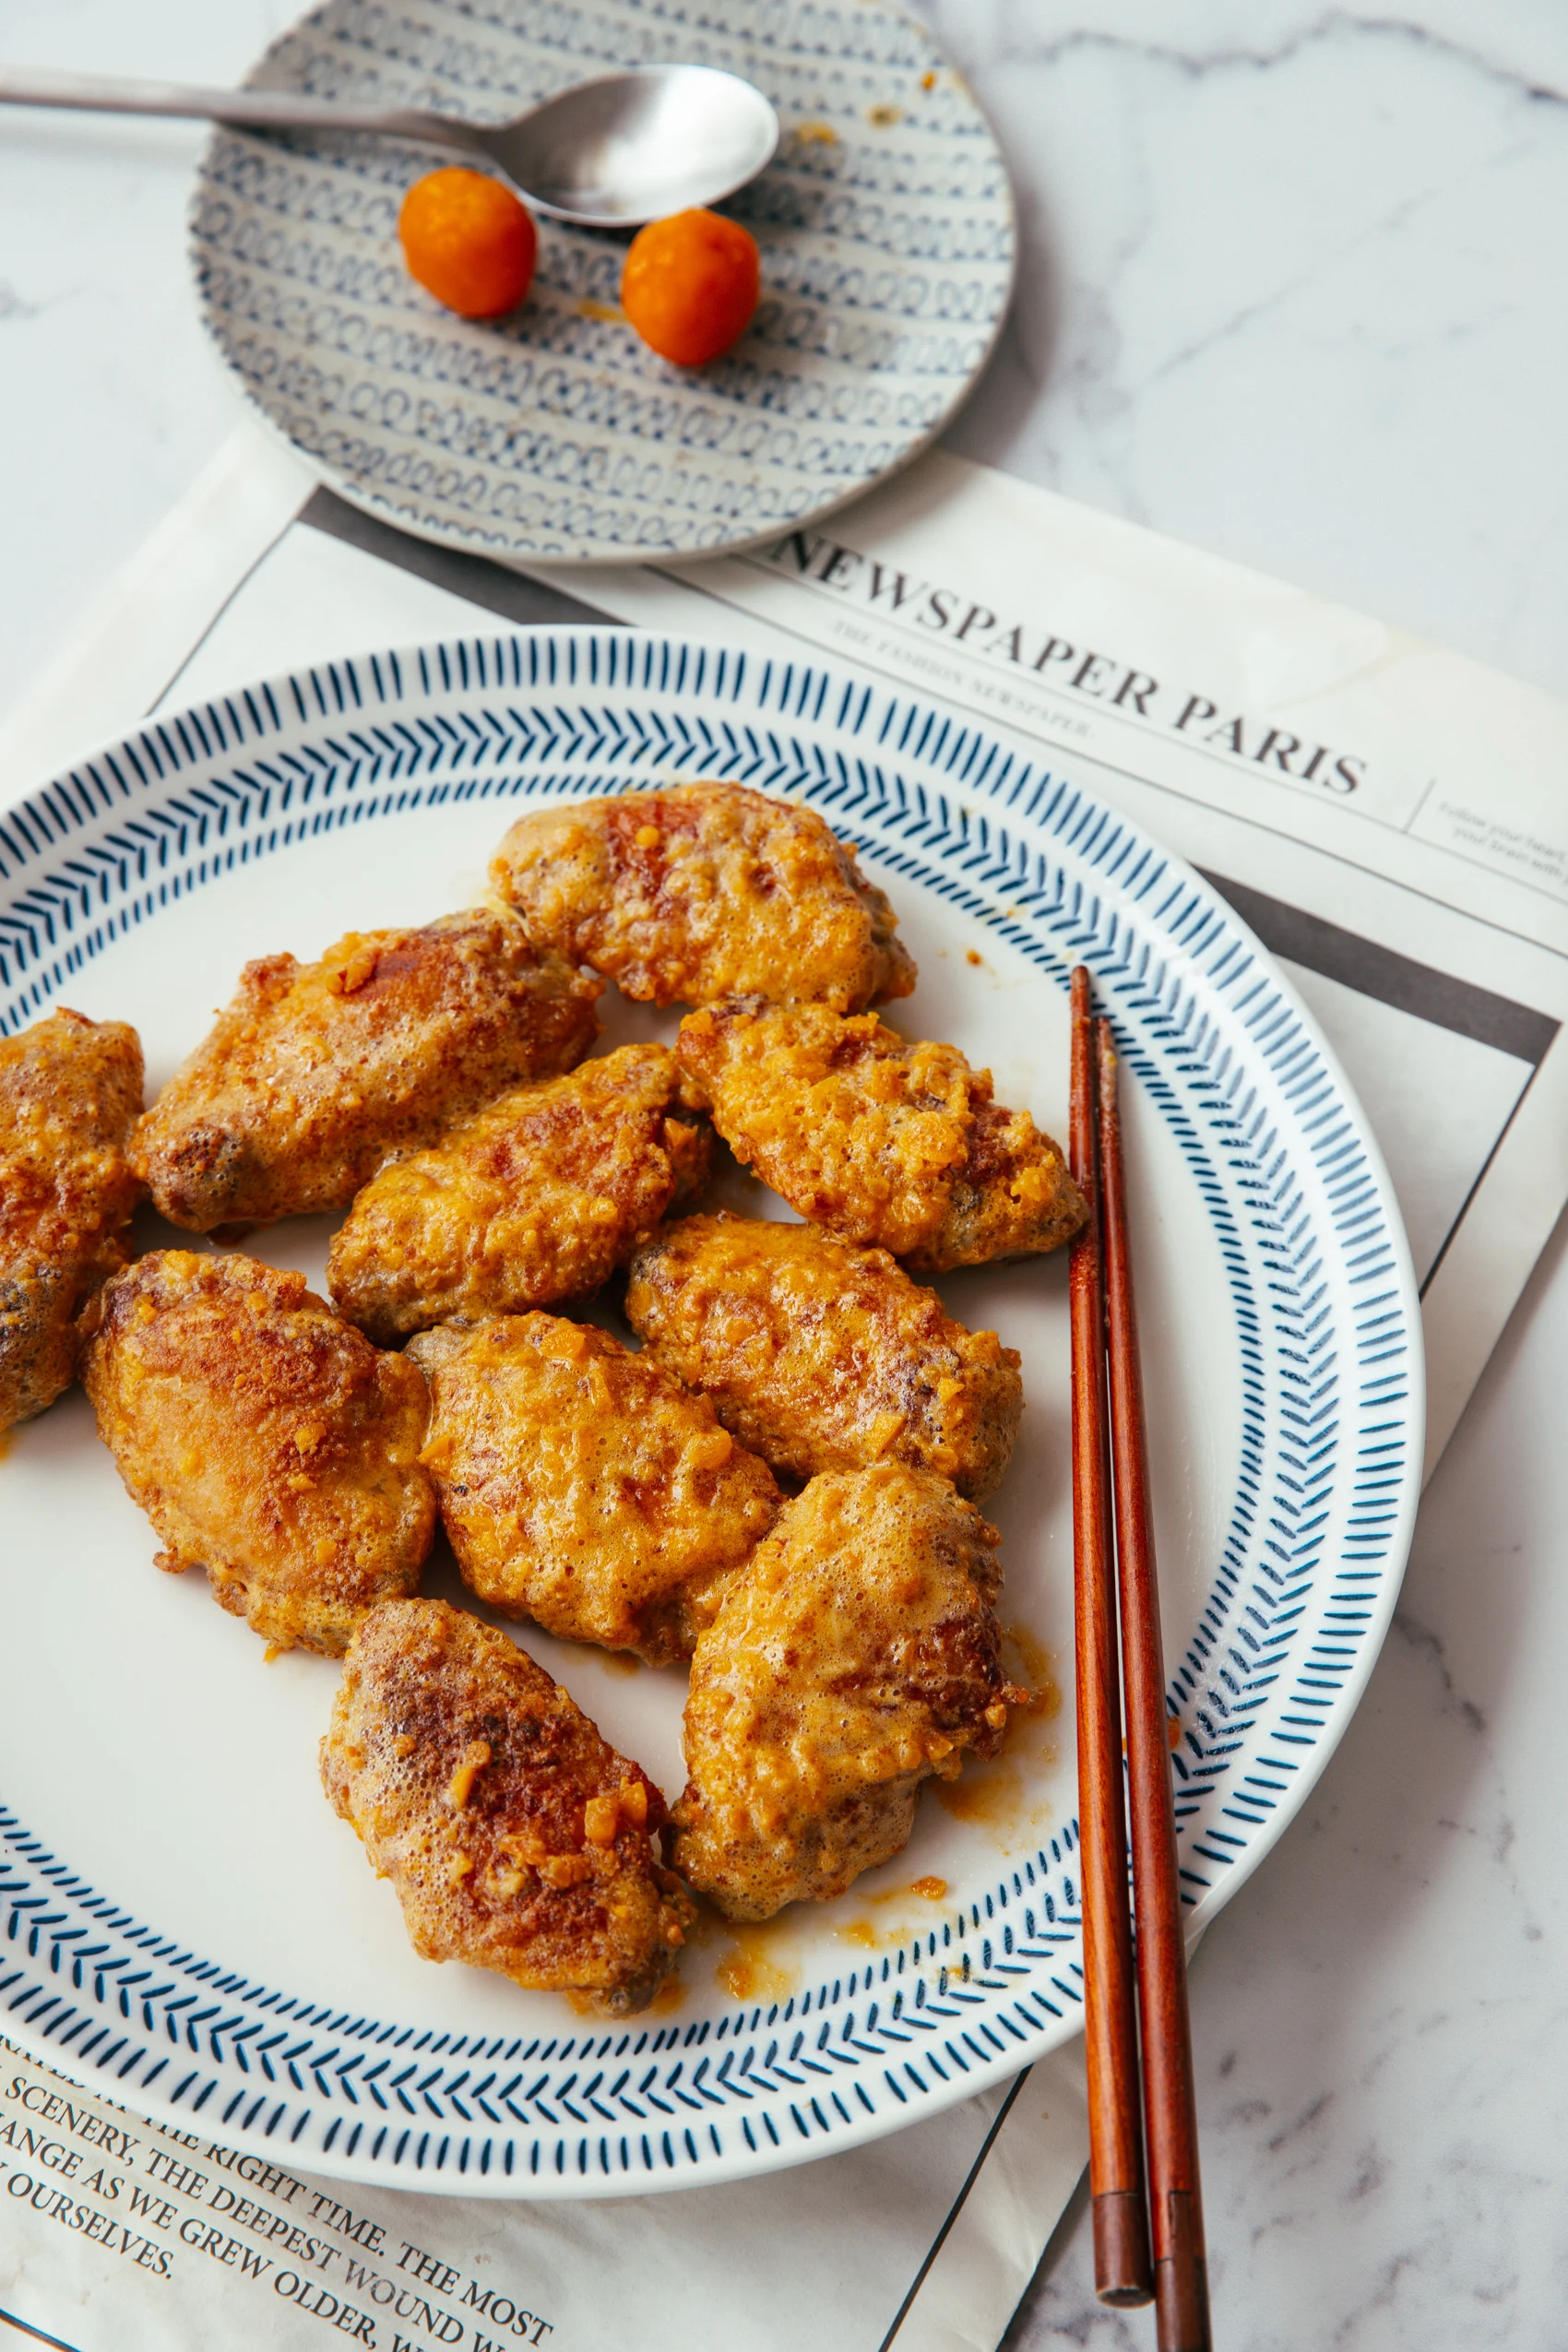
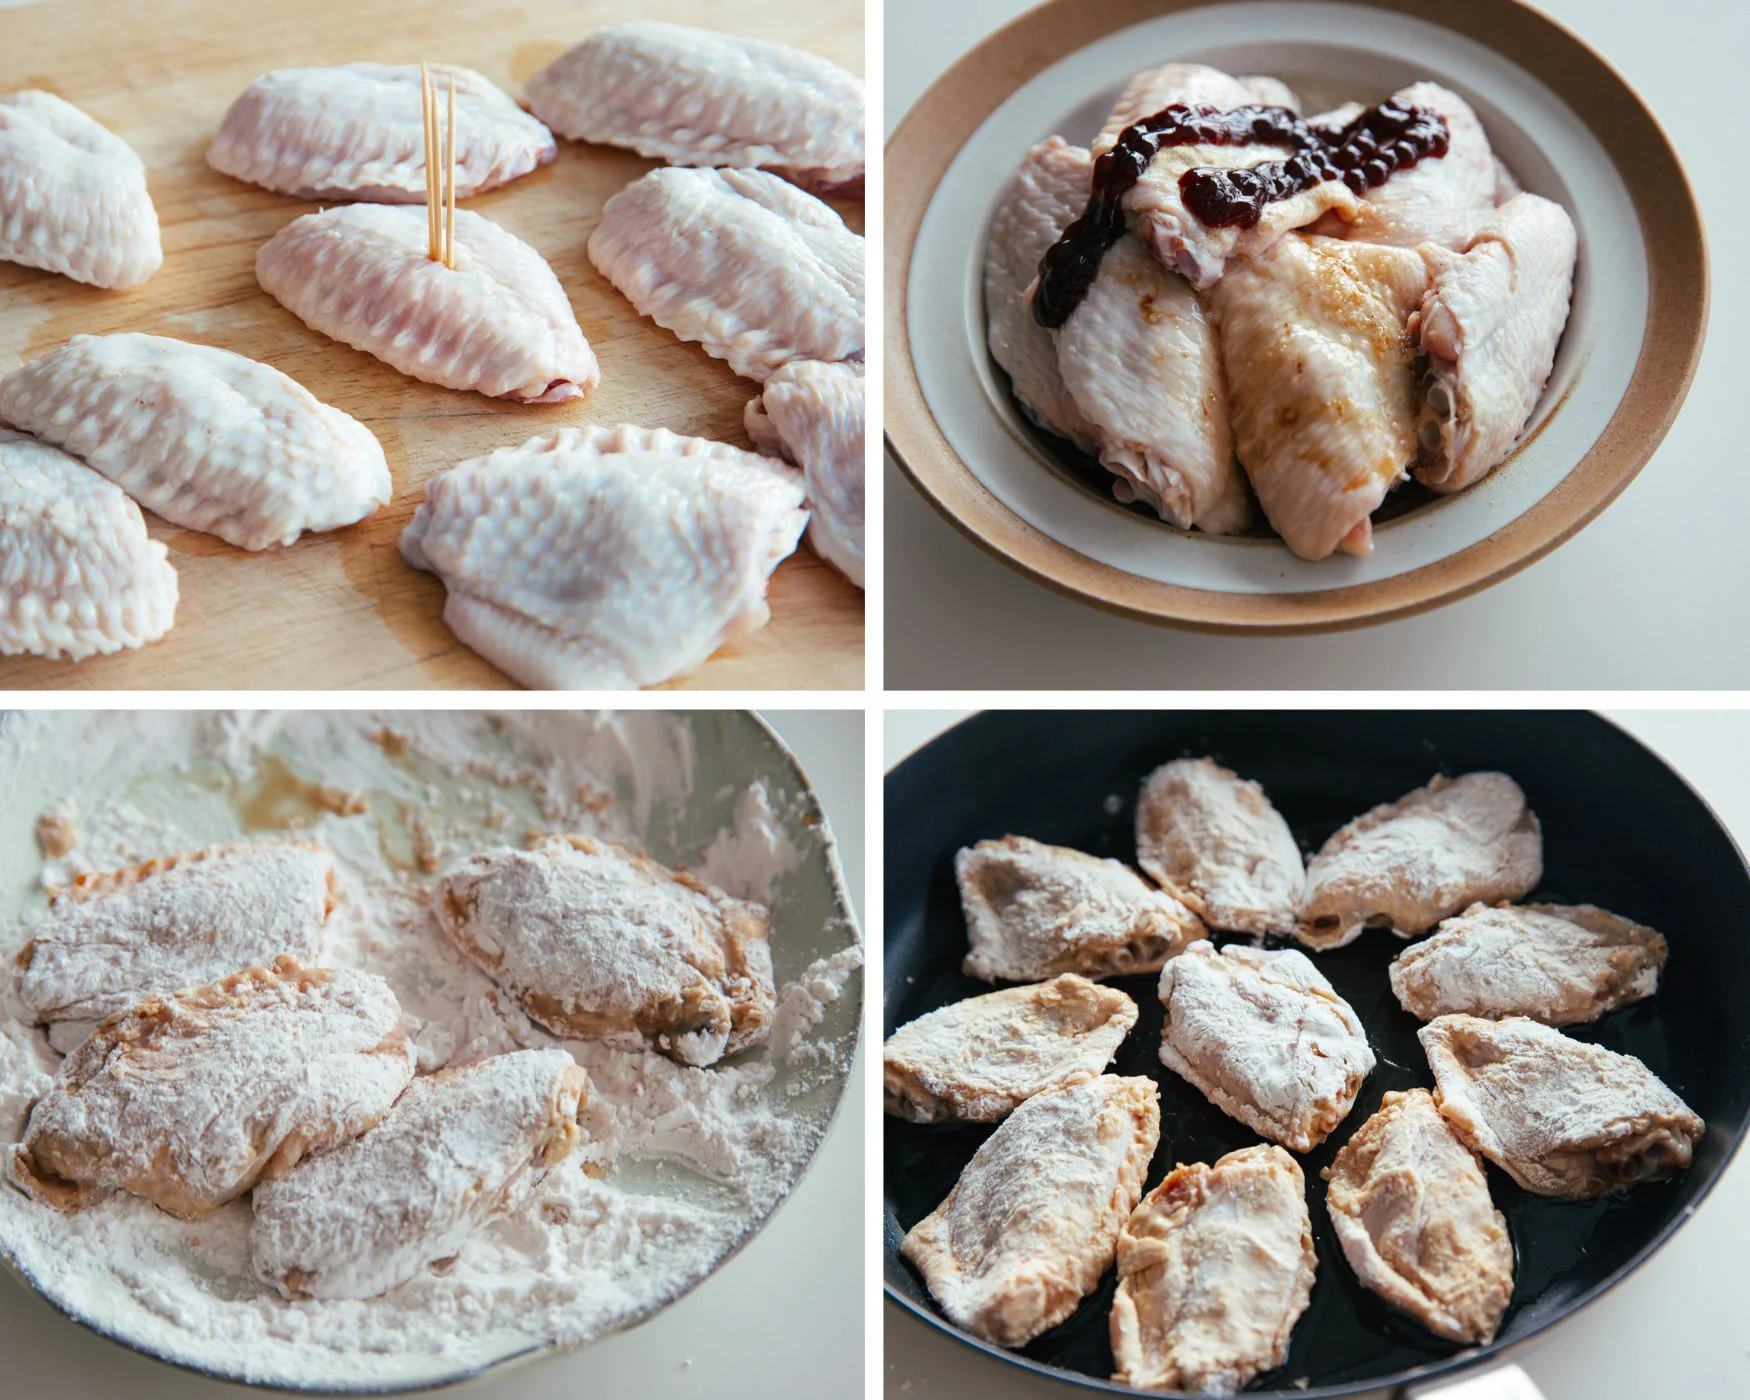
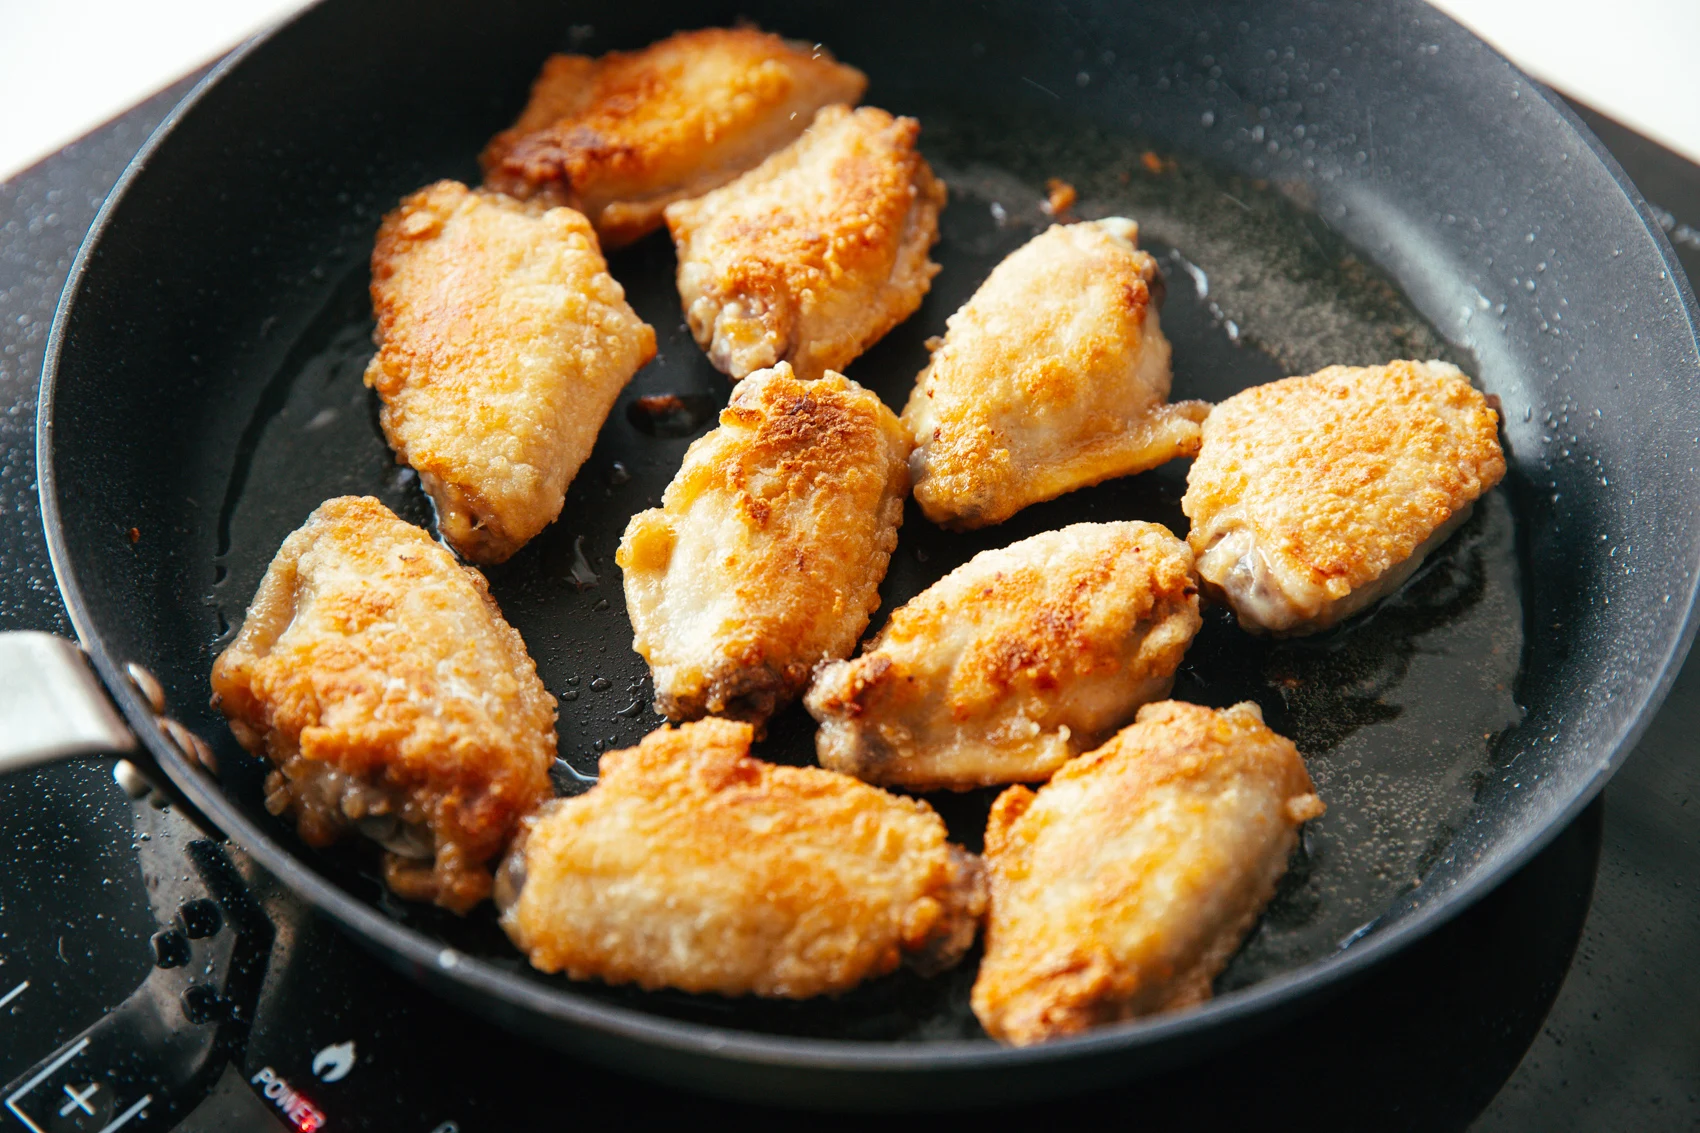
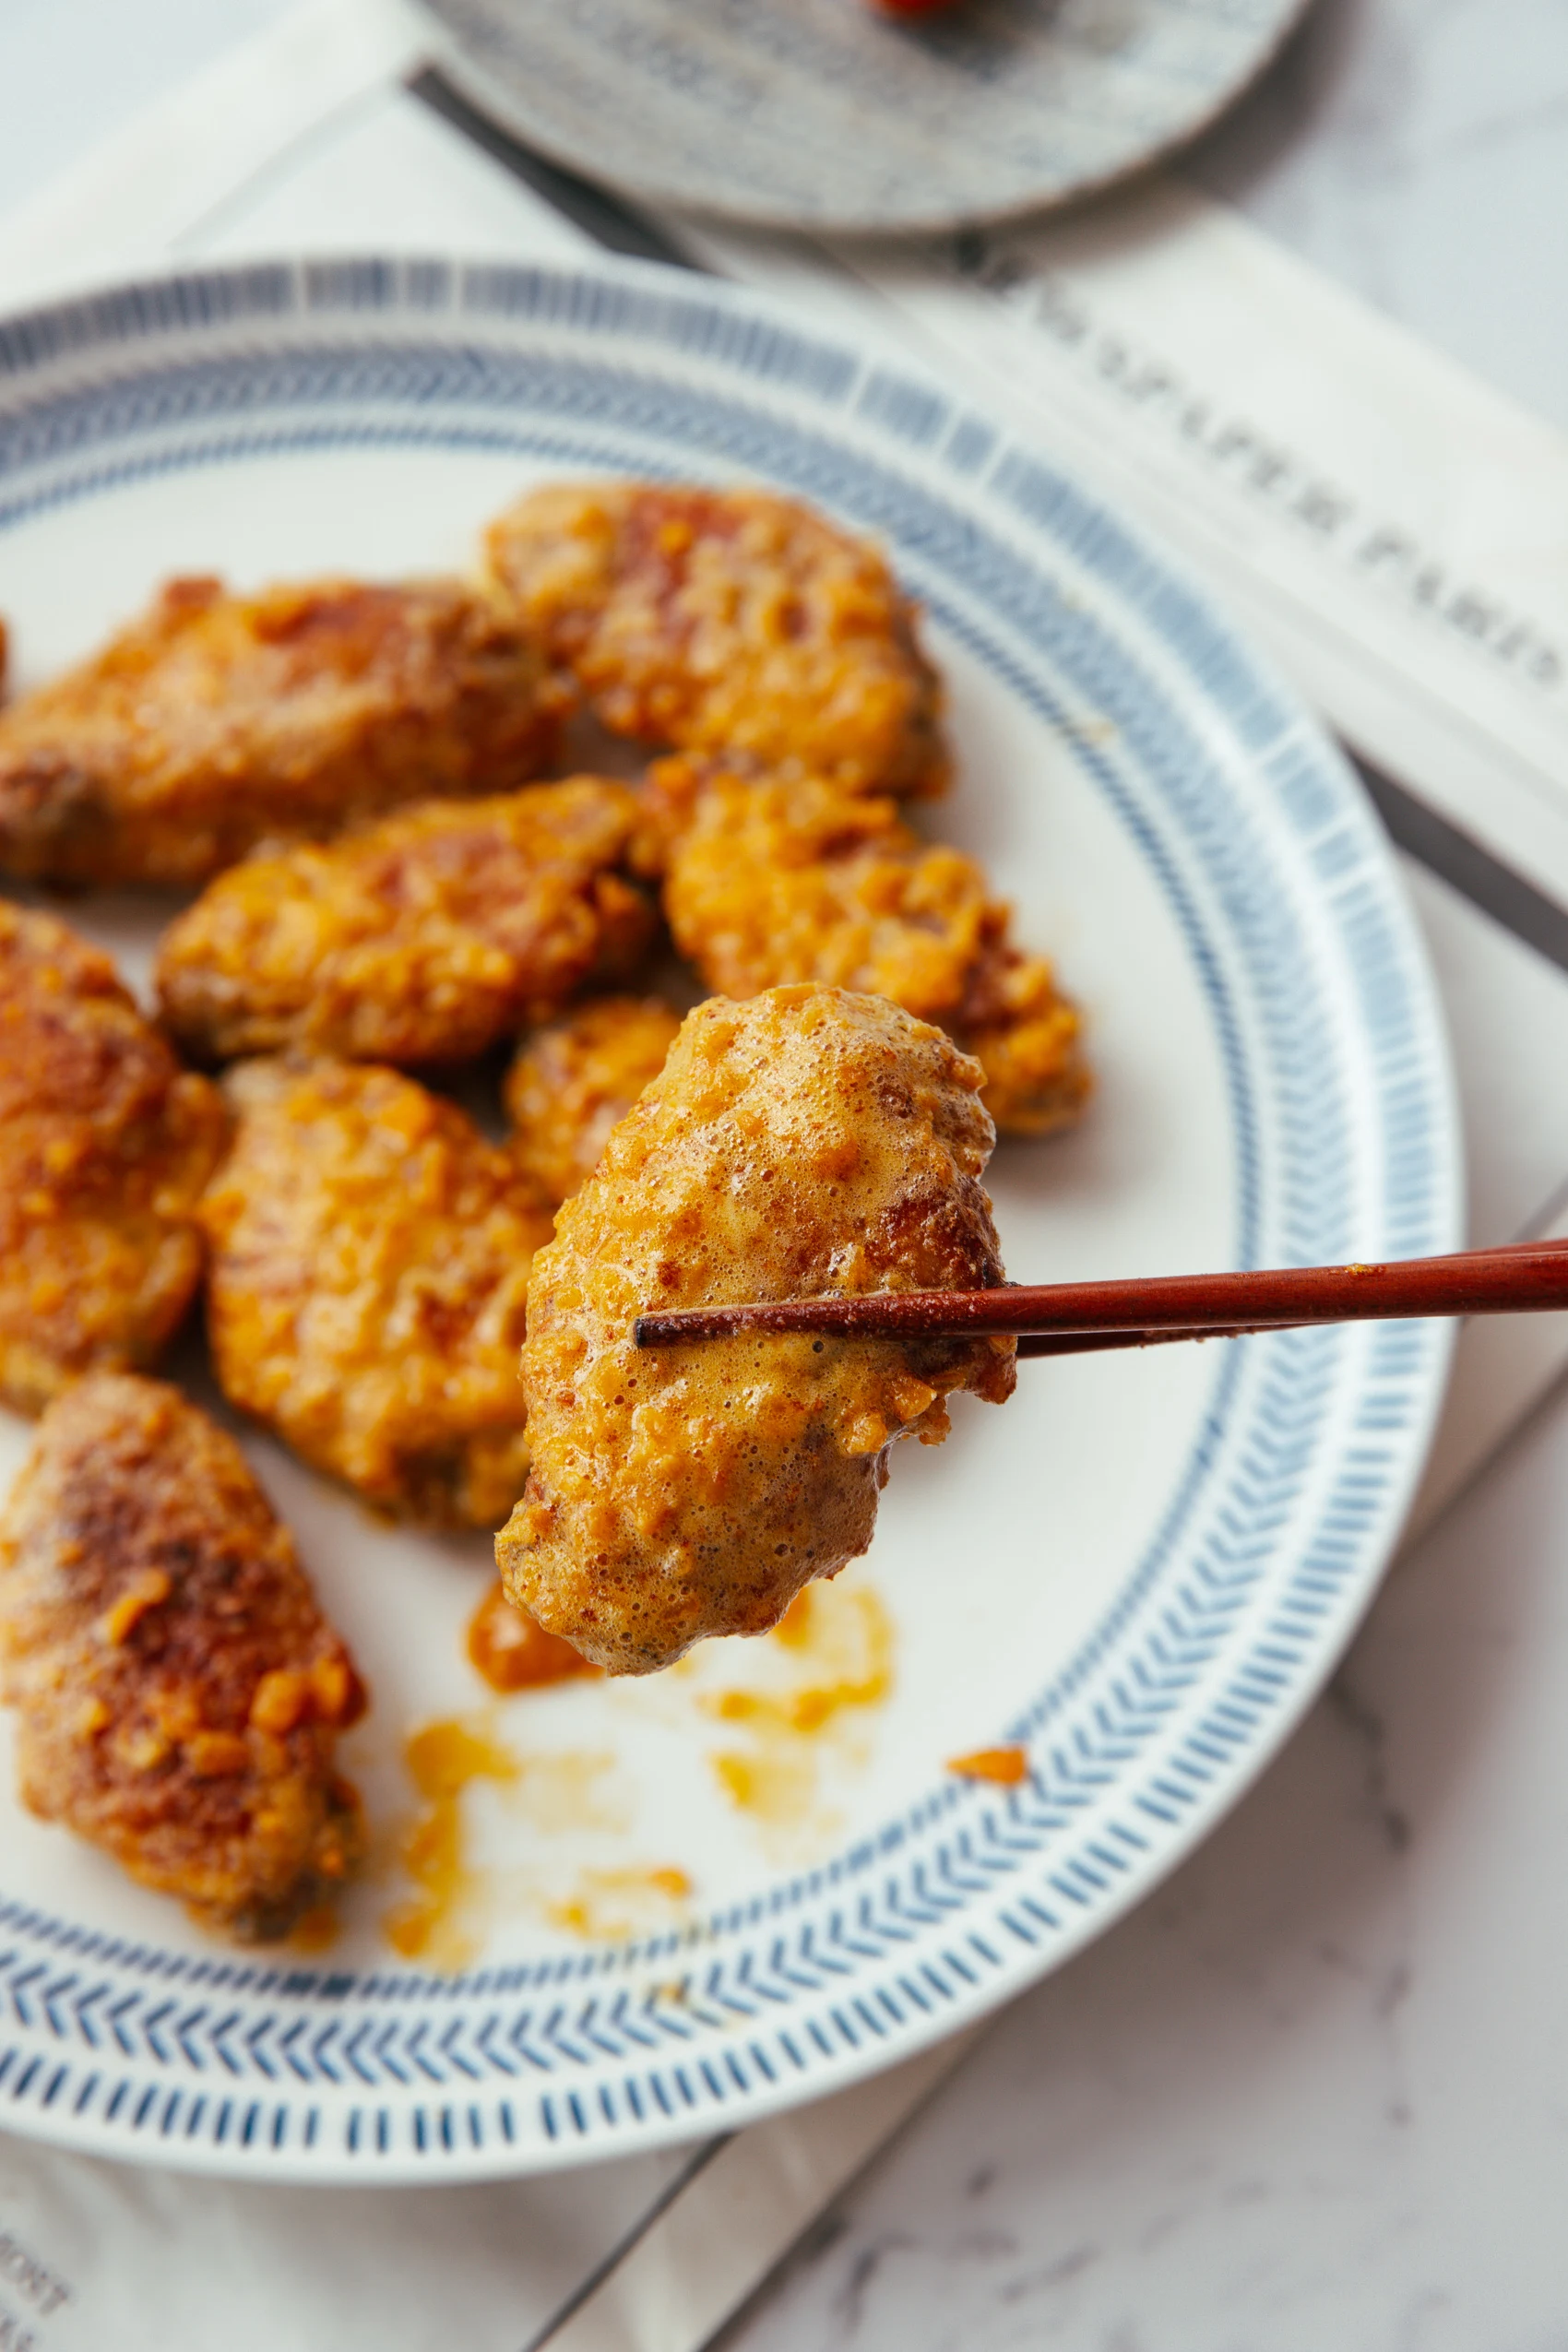
This recipe is part of our Salted Egg Yolk Series, where we explore one of the most beloved ingredients in Chinese cooking. We have made our own salted yolk with a super easy method, and made crispy chicken wings with salted egg yolk.
The Chinese Name
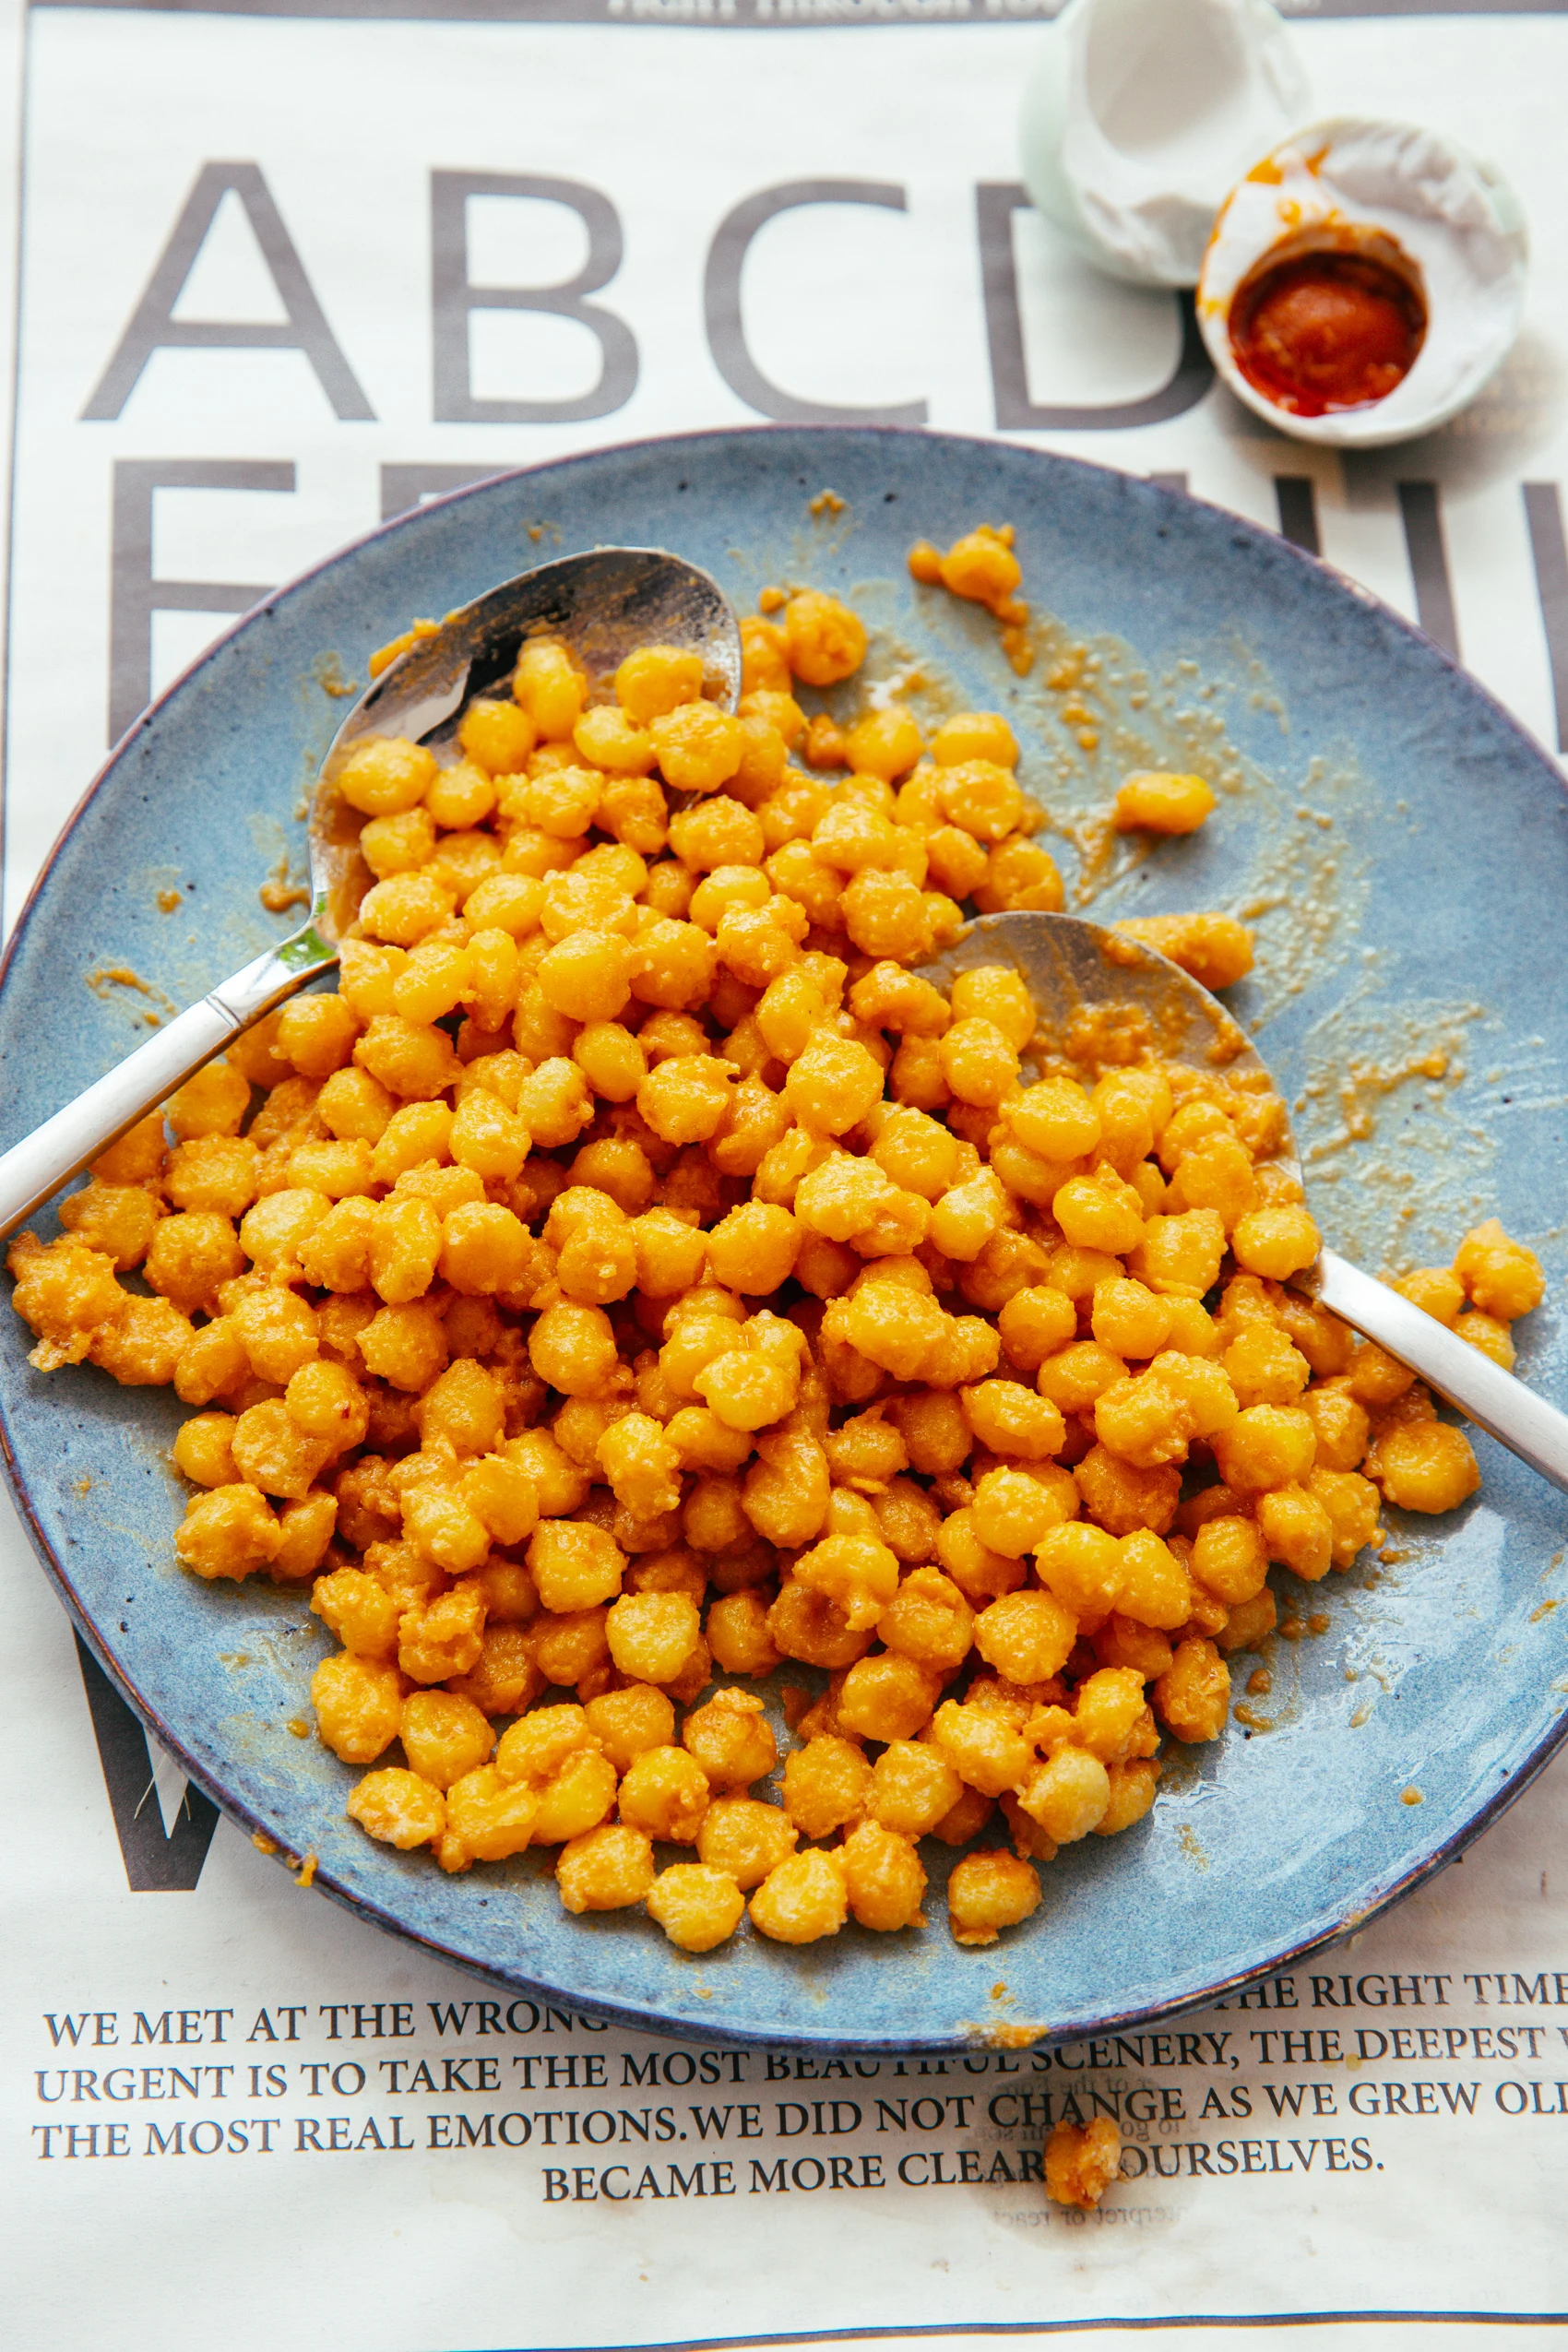
The Chinese name of this dish is Golden Sand Kernels. We call almost every dish with a similar cooking method, I mean coated with salted egg yolk, like golden sand. The name Golden Sand (金沙) paints a picture of shimmering, sun-lit grains — and that’s exactly what this dish looks like on the plate. In Chinese food culture, gold symbolizes abundance and prosperity. We also love serving it as a snack for a holiday or family party. It has been the most popular dish among children and is widely loved because of its golden color.
Ingredients
- 200g corn – from one corn
- cornstarch as needed
- oil for deep-frying
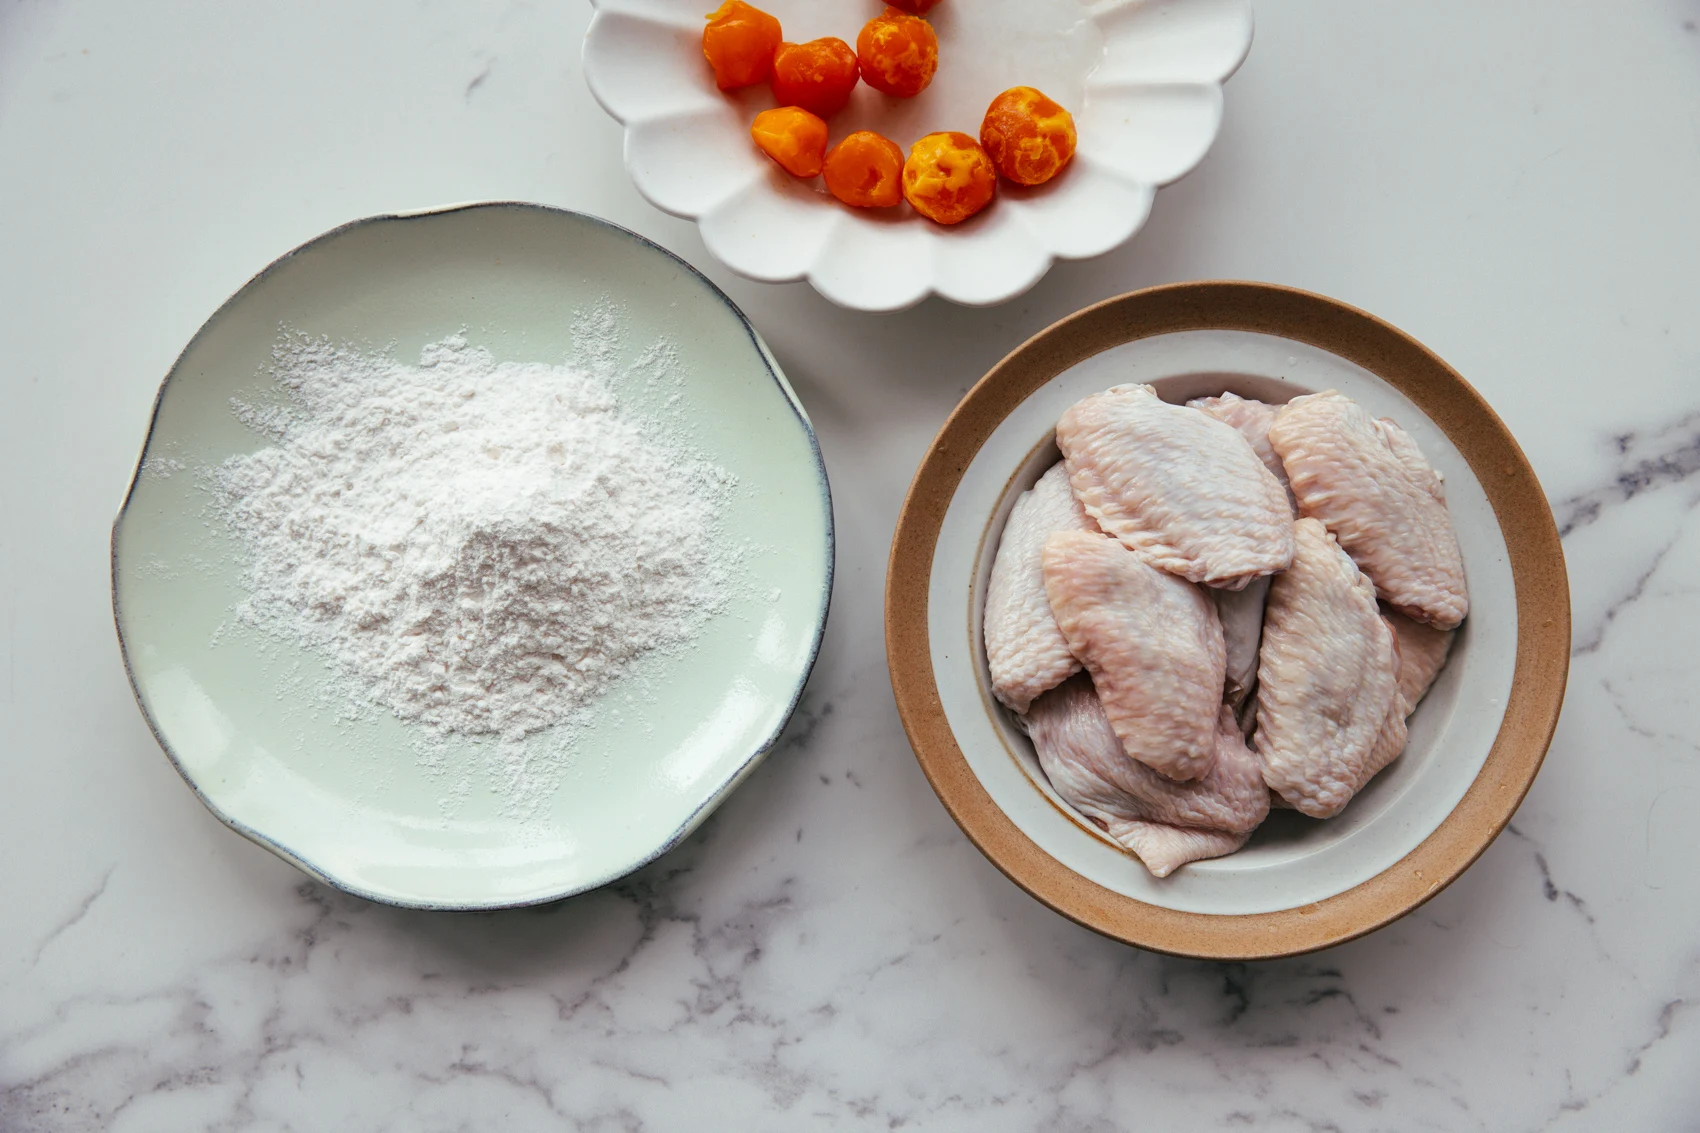
- 3 salted egg yolks
- pinch of salt
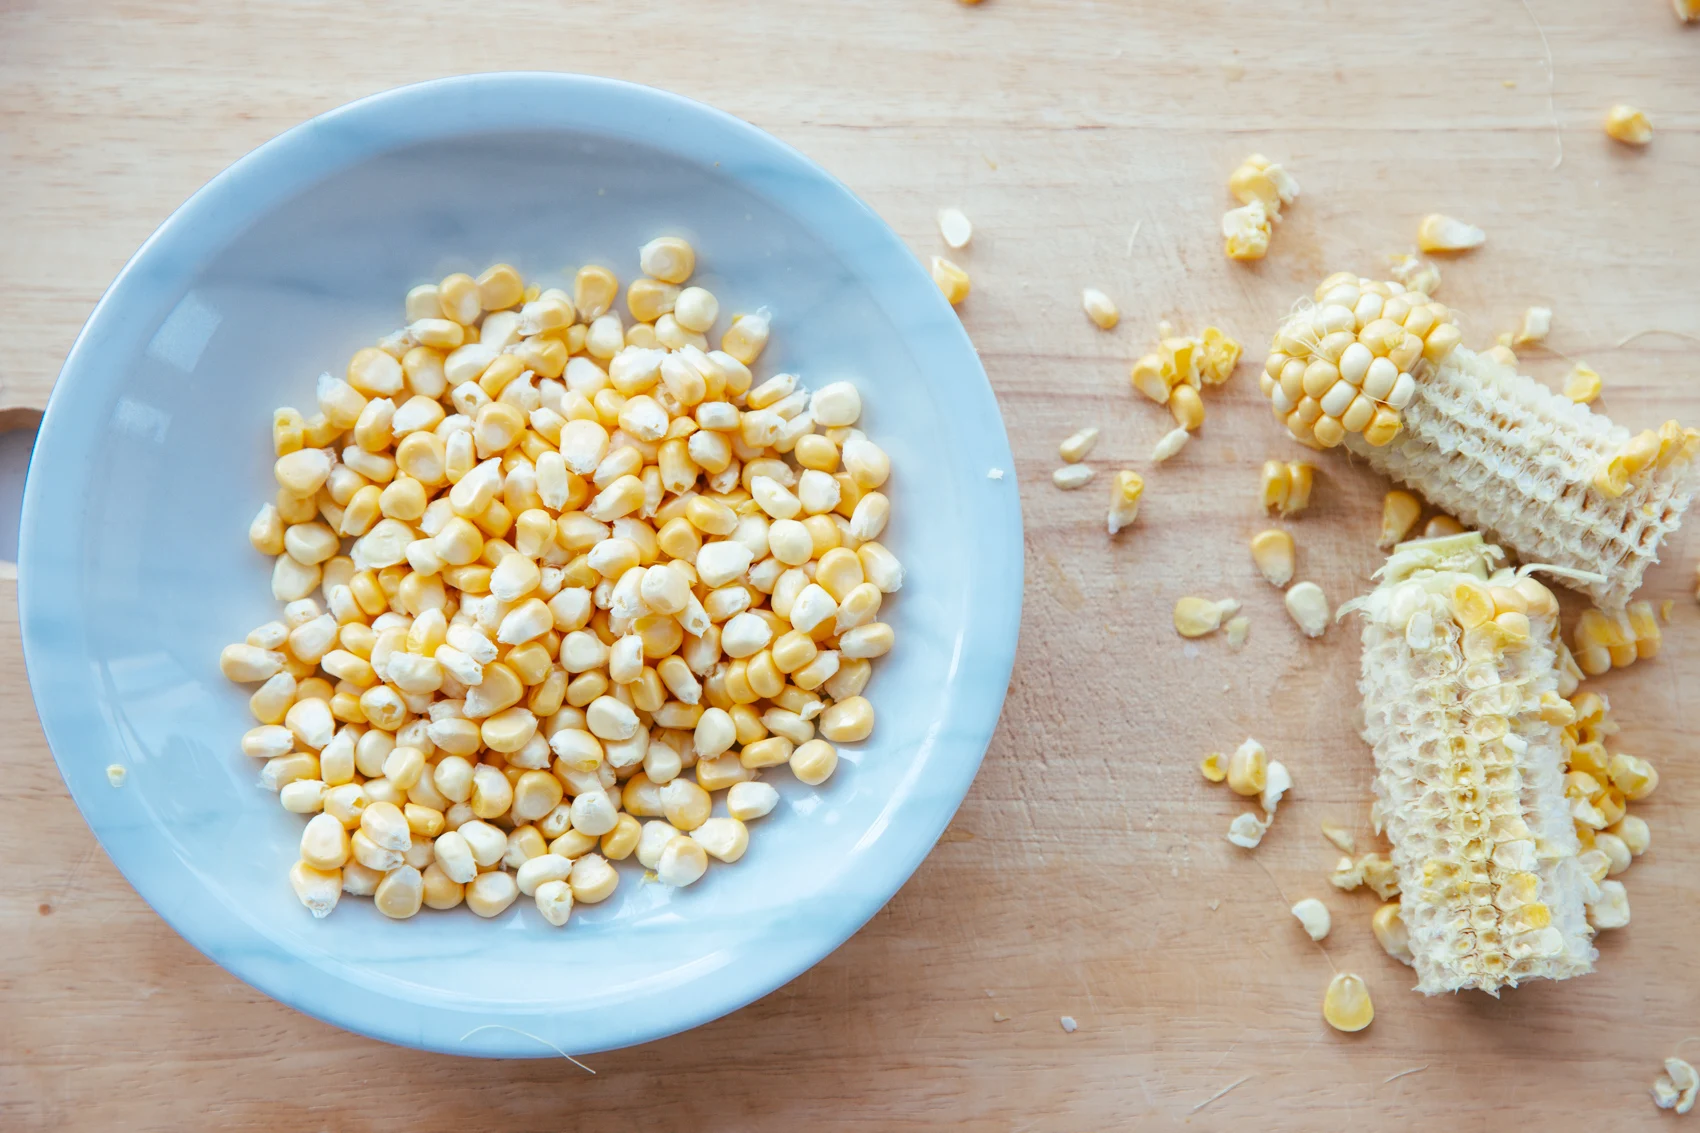
How to Hand-Shell Corn Kernels
Cut the corn cob in half crosswise, then split each half lengthwise into quarters. With the cob now in smaller, manageable sections, simply use your thumbs to push the kernels off row by row — they come off cleanly and easily with very little effort.
I recommend using hand-shelled kernels for this crispy corn with salted egg because it lets us keep the kernels whole and intact, preserving their natural round shape. This makes the final look much better.
In addition, because we don’t damage the kernel, the natural pocket will remain. That’s the very important group of flavor and juicy bits.
Step-by-Step Instructions
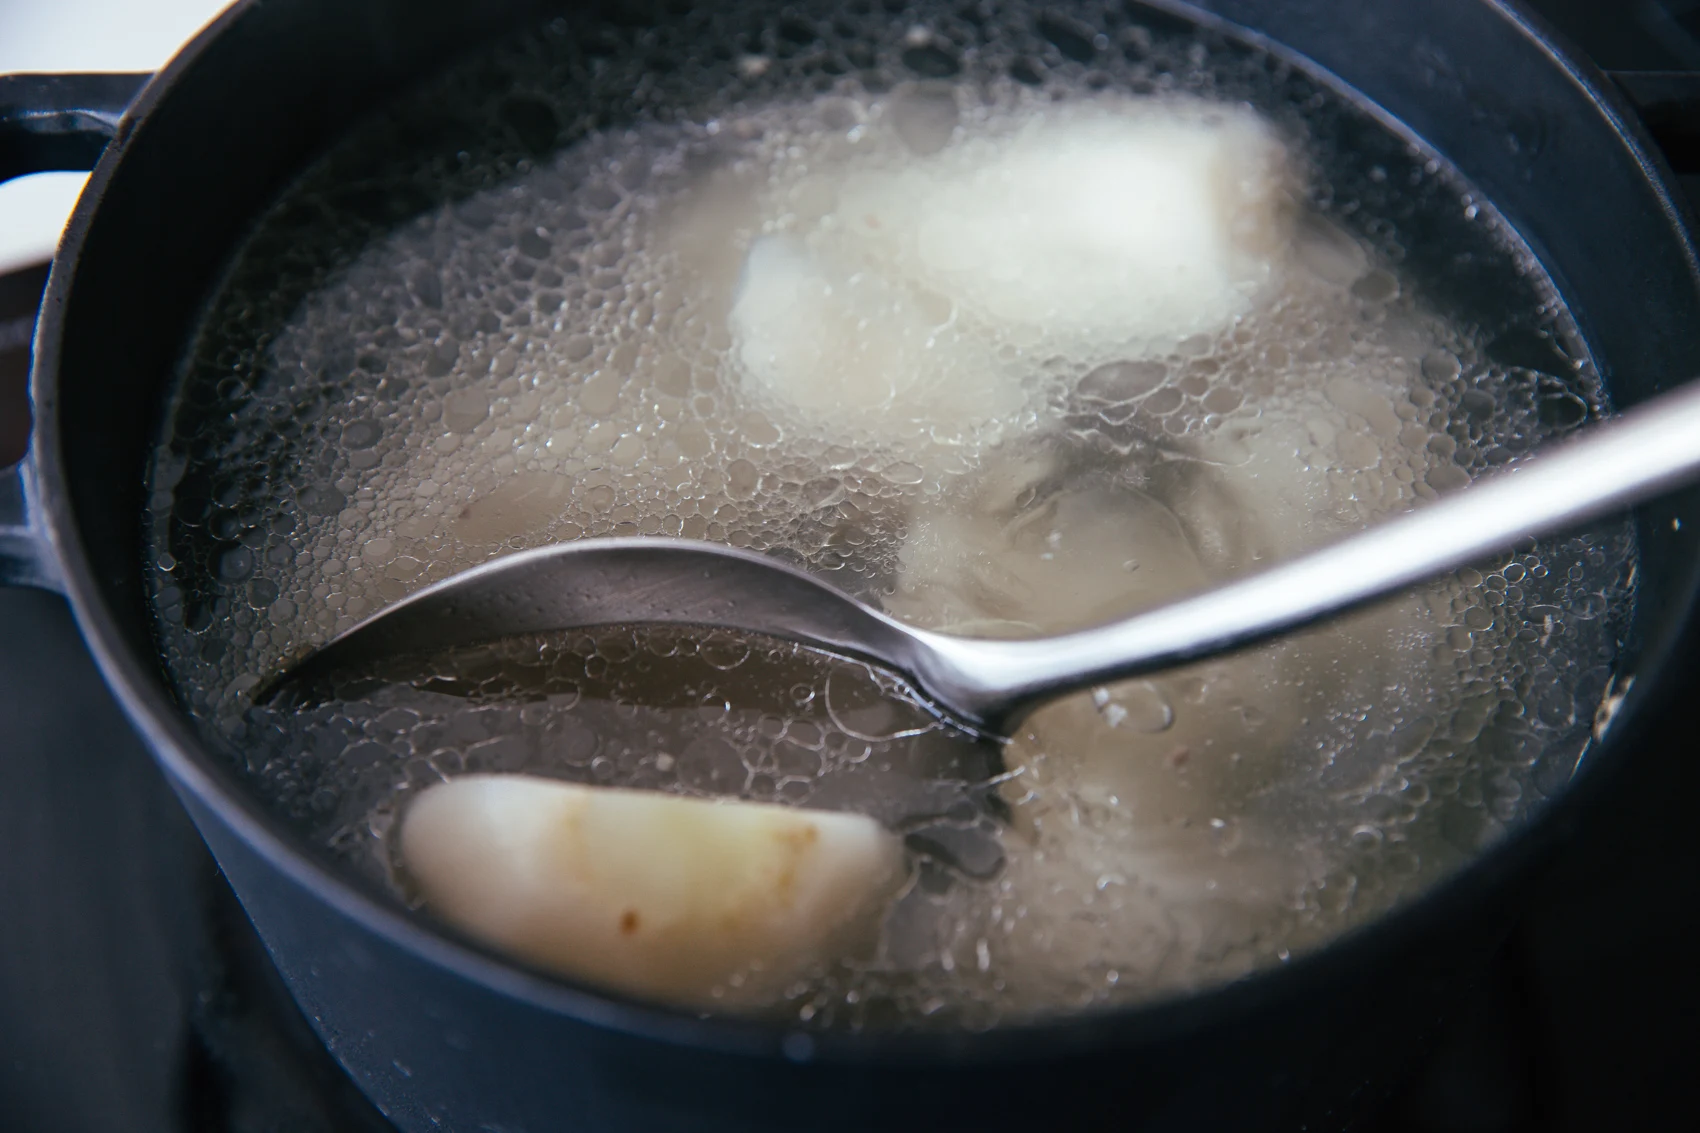
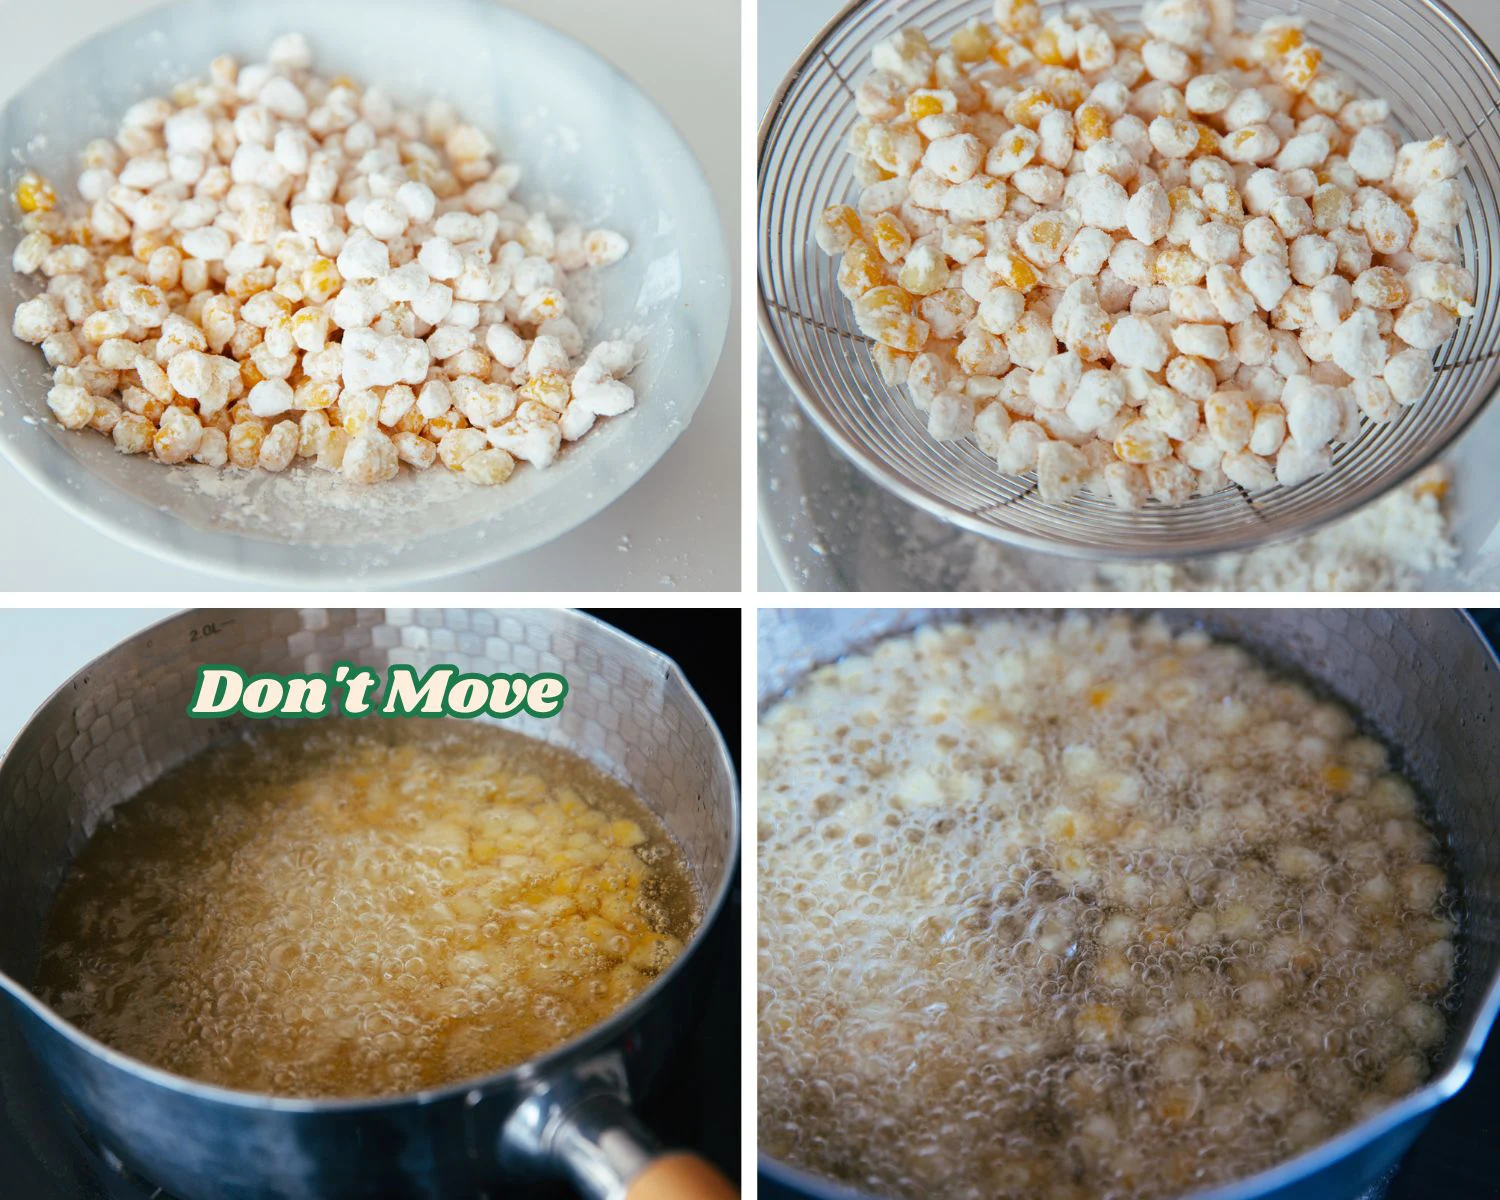
- Boil 1 pot of water, then blanch the kernels for about 1 minute. This will add some moisture to the surface, allowing further attachment of cornstarch.
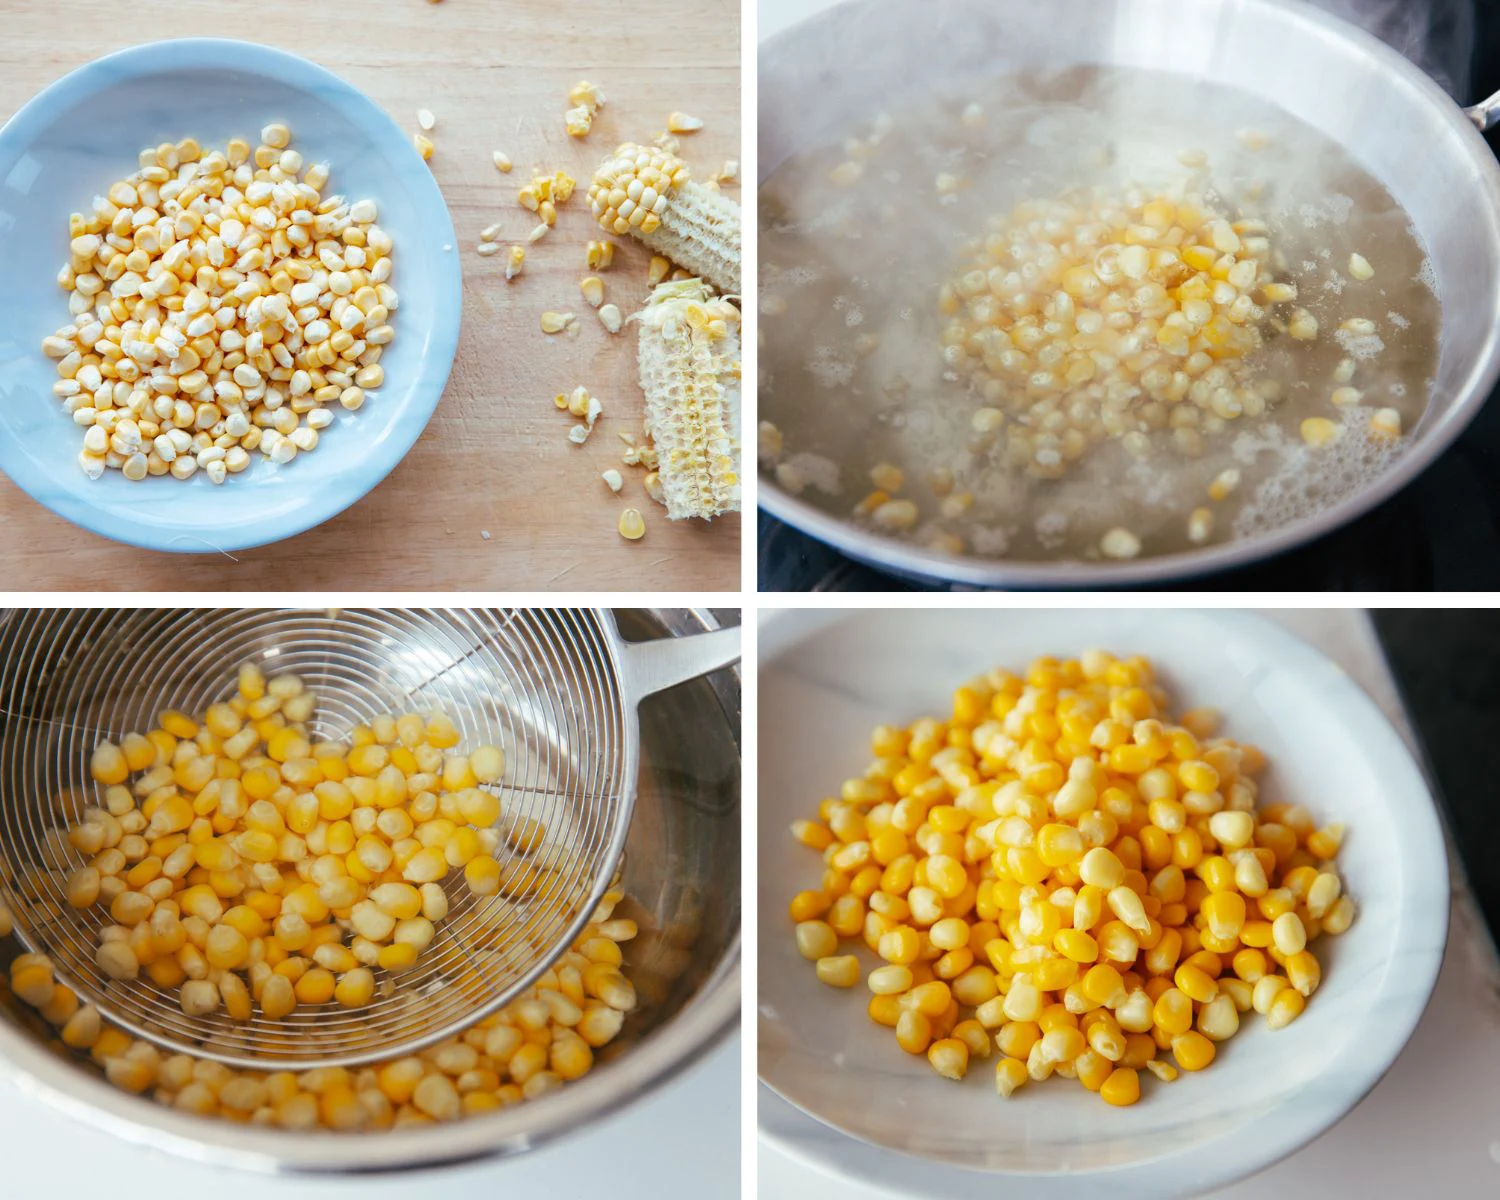
- Add cornstarch in batches; after each addition, shake the plate to make sure each piece of cornstarch is well coated. But the points changed if you use frozen kernels. For frozen ones, remember to drain excess water to ensure crispiness.
- Now, heat a pot of oil to around 180 degrees C. There will be fine bubbles if you insert a chopstick. Fry the kernel until golden brown. It may take around 3-4 minutes.
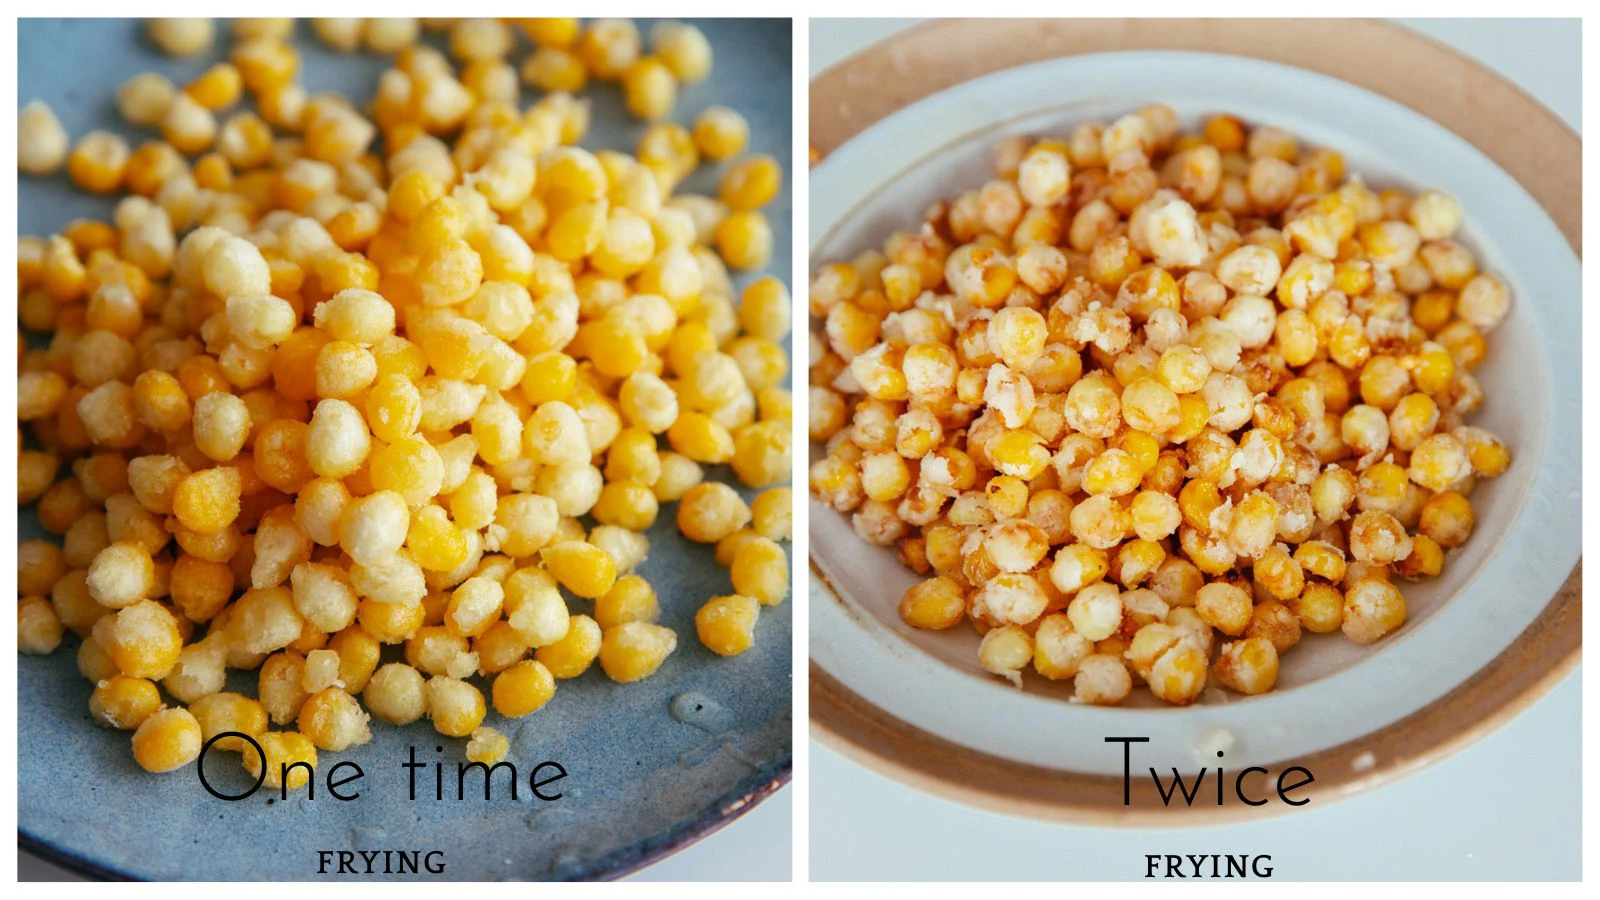
Optional second frying
Remove all the kernels and any remaining. Turn the oil temperature up to around 200°C, then add all the fried kernels and fry for another 10 seconds. One-time frying is softer and juicier. Twice frying is harder, crisper, and drier. So it is 100% up to you.
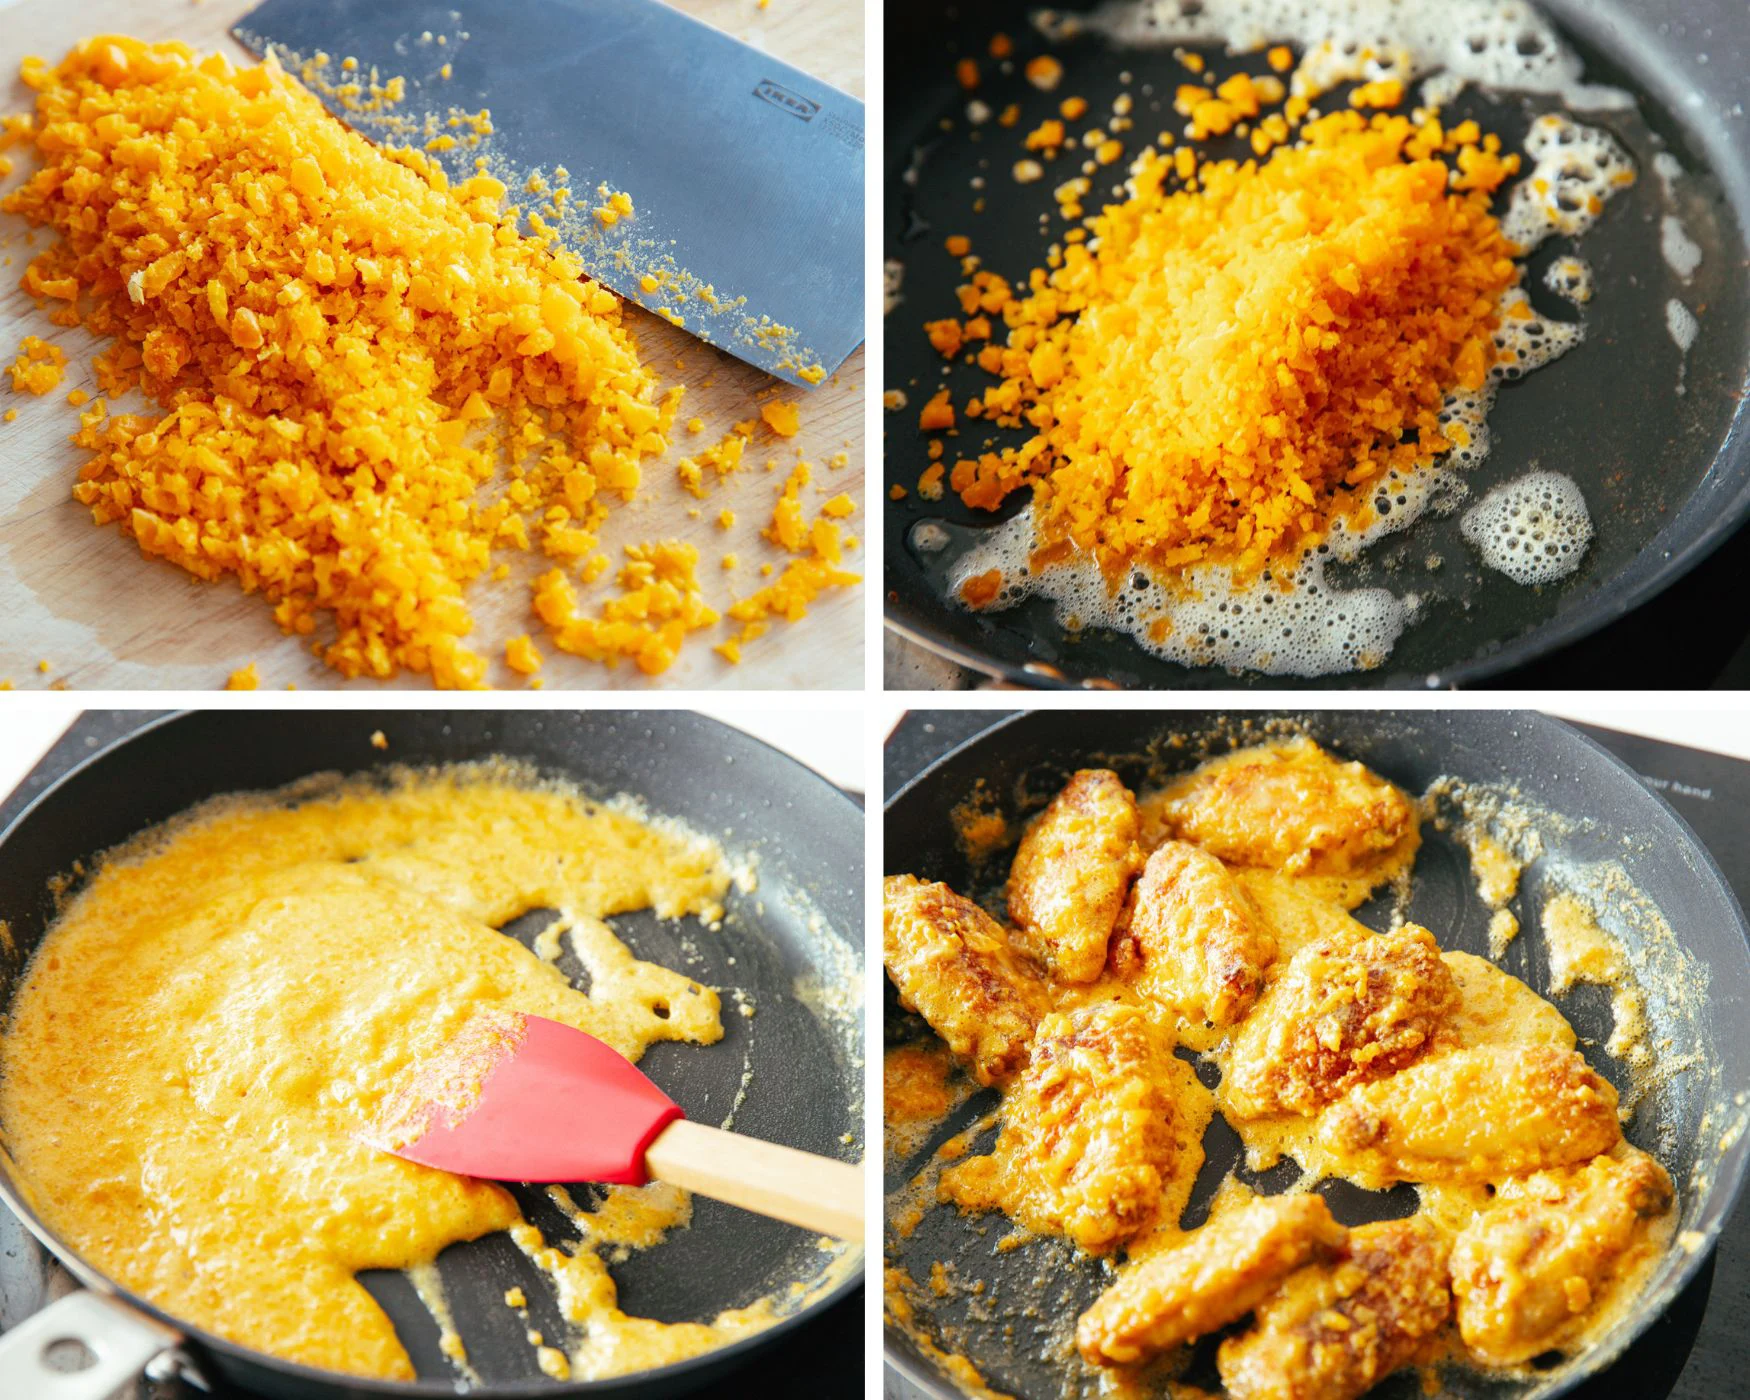
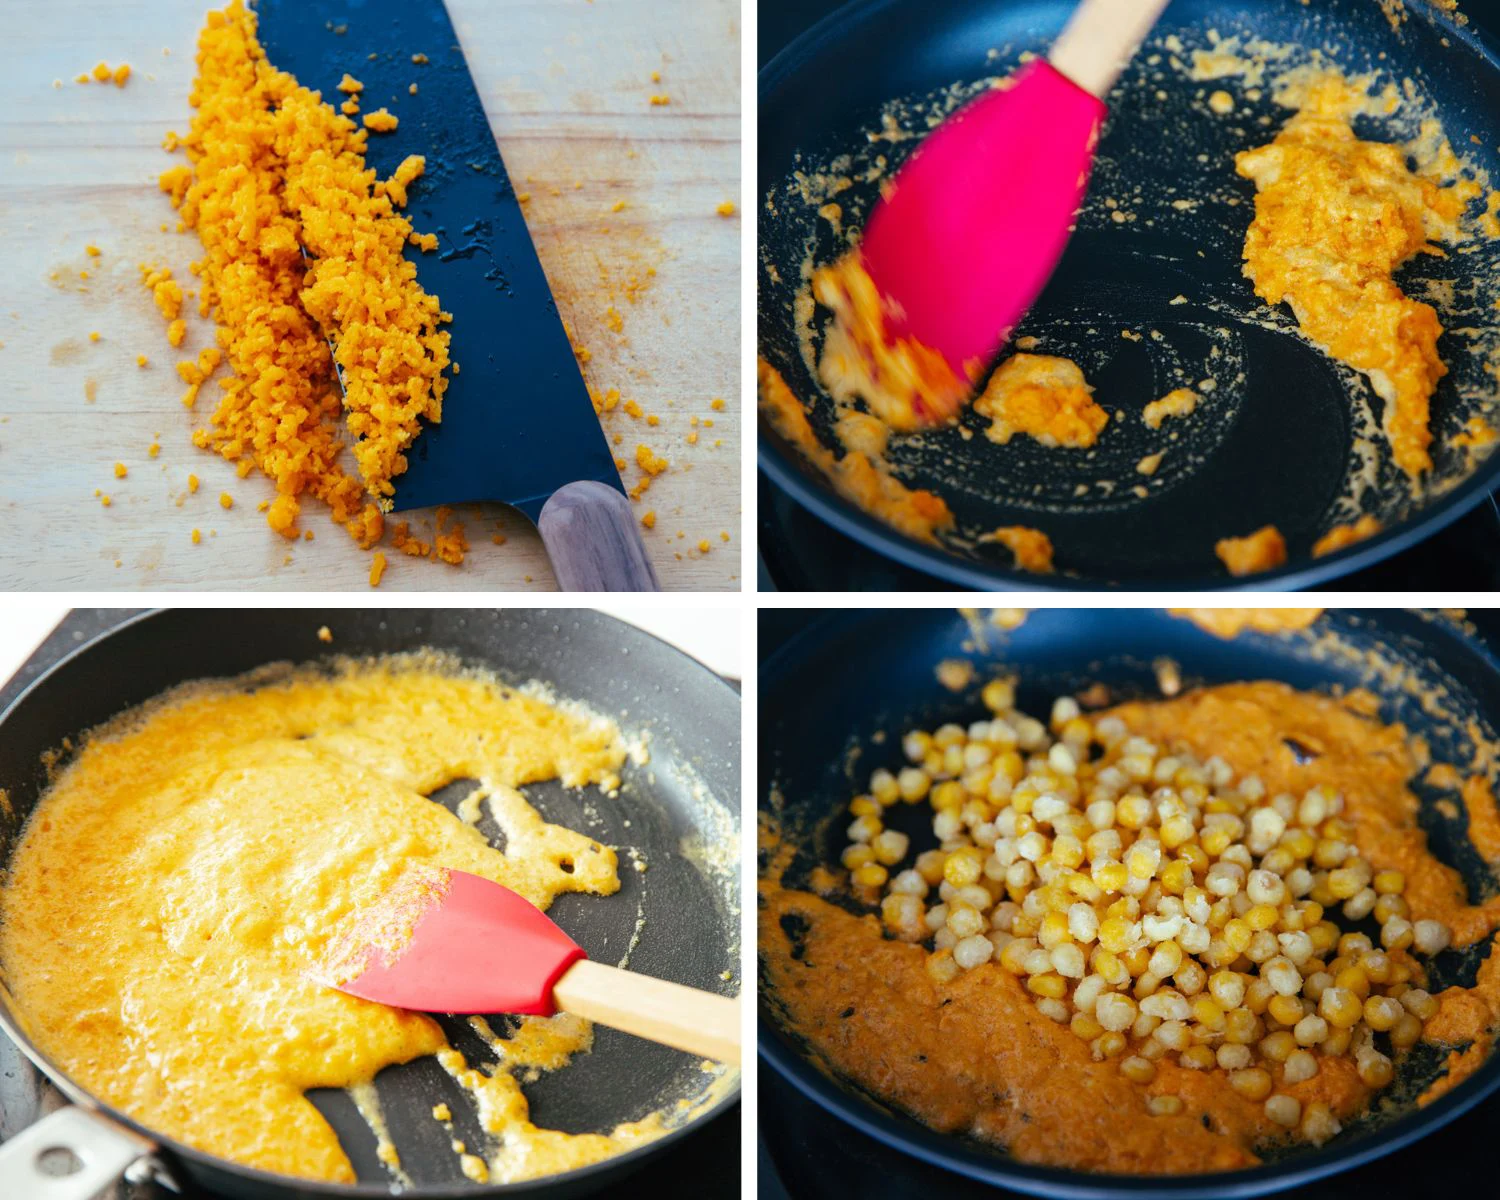
- Steam the salted egg yolk for about 10 minutes, then finely chop it.
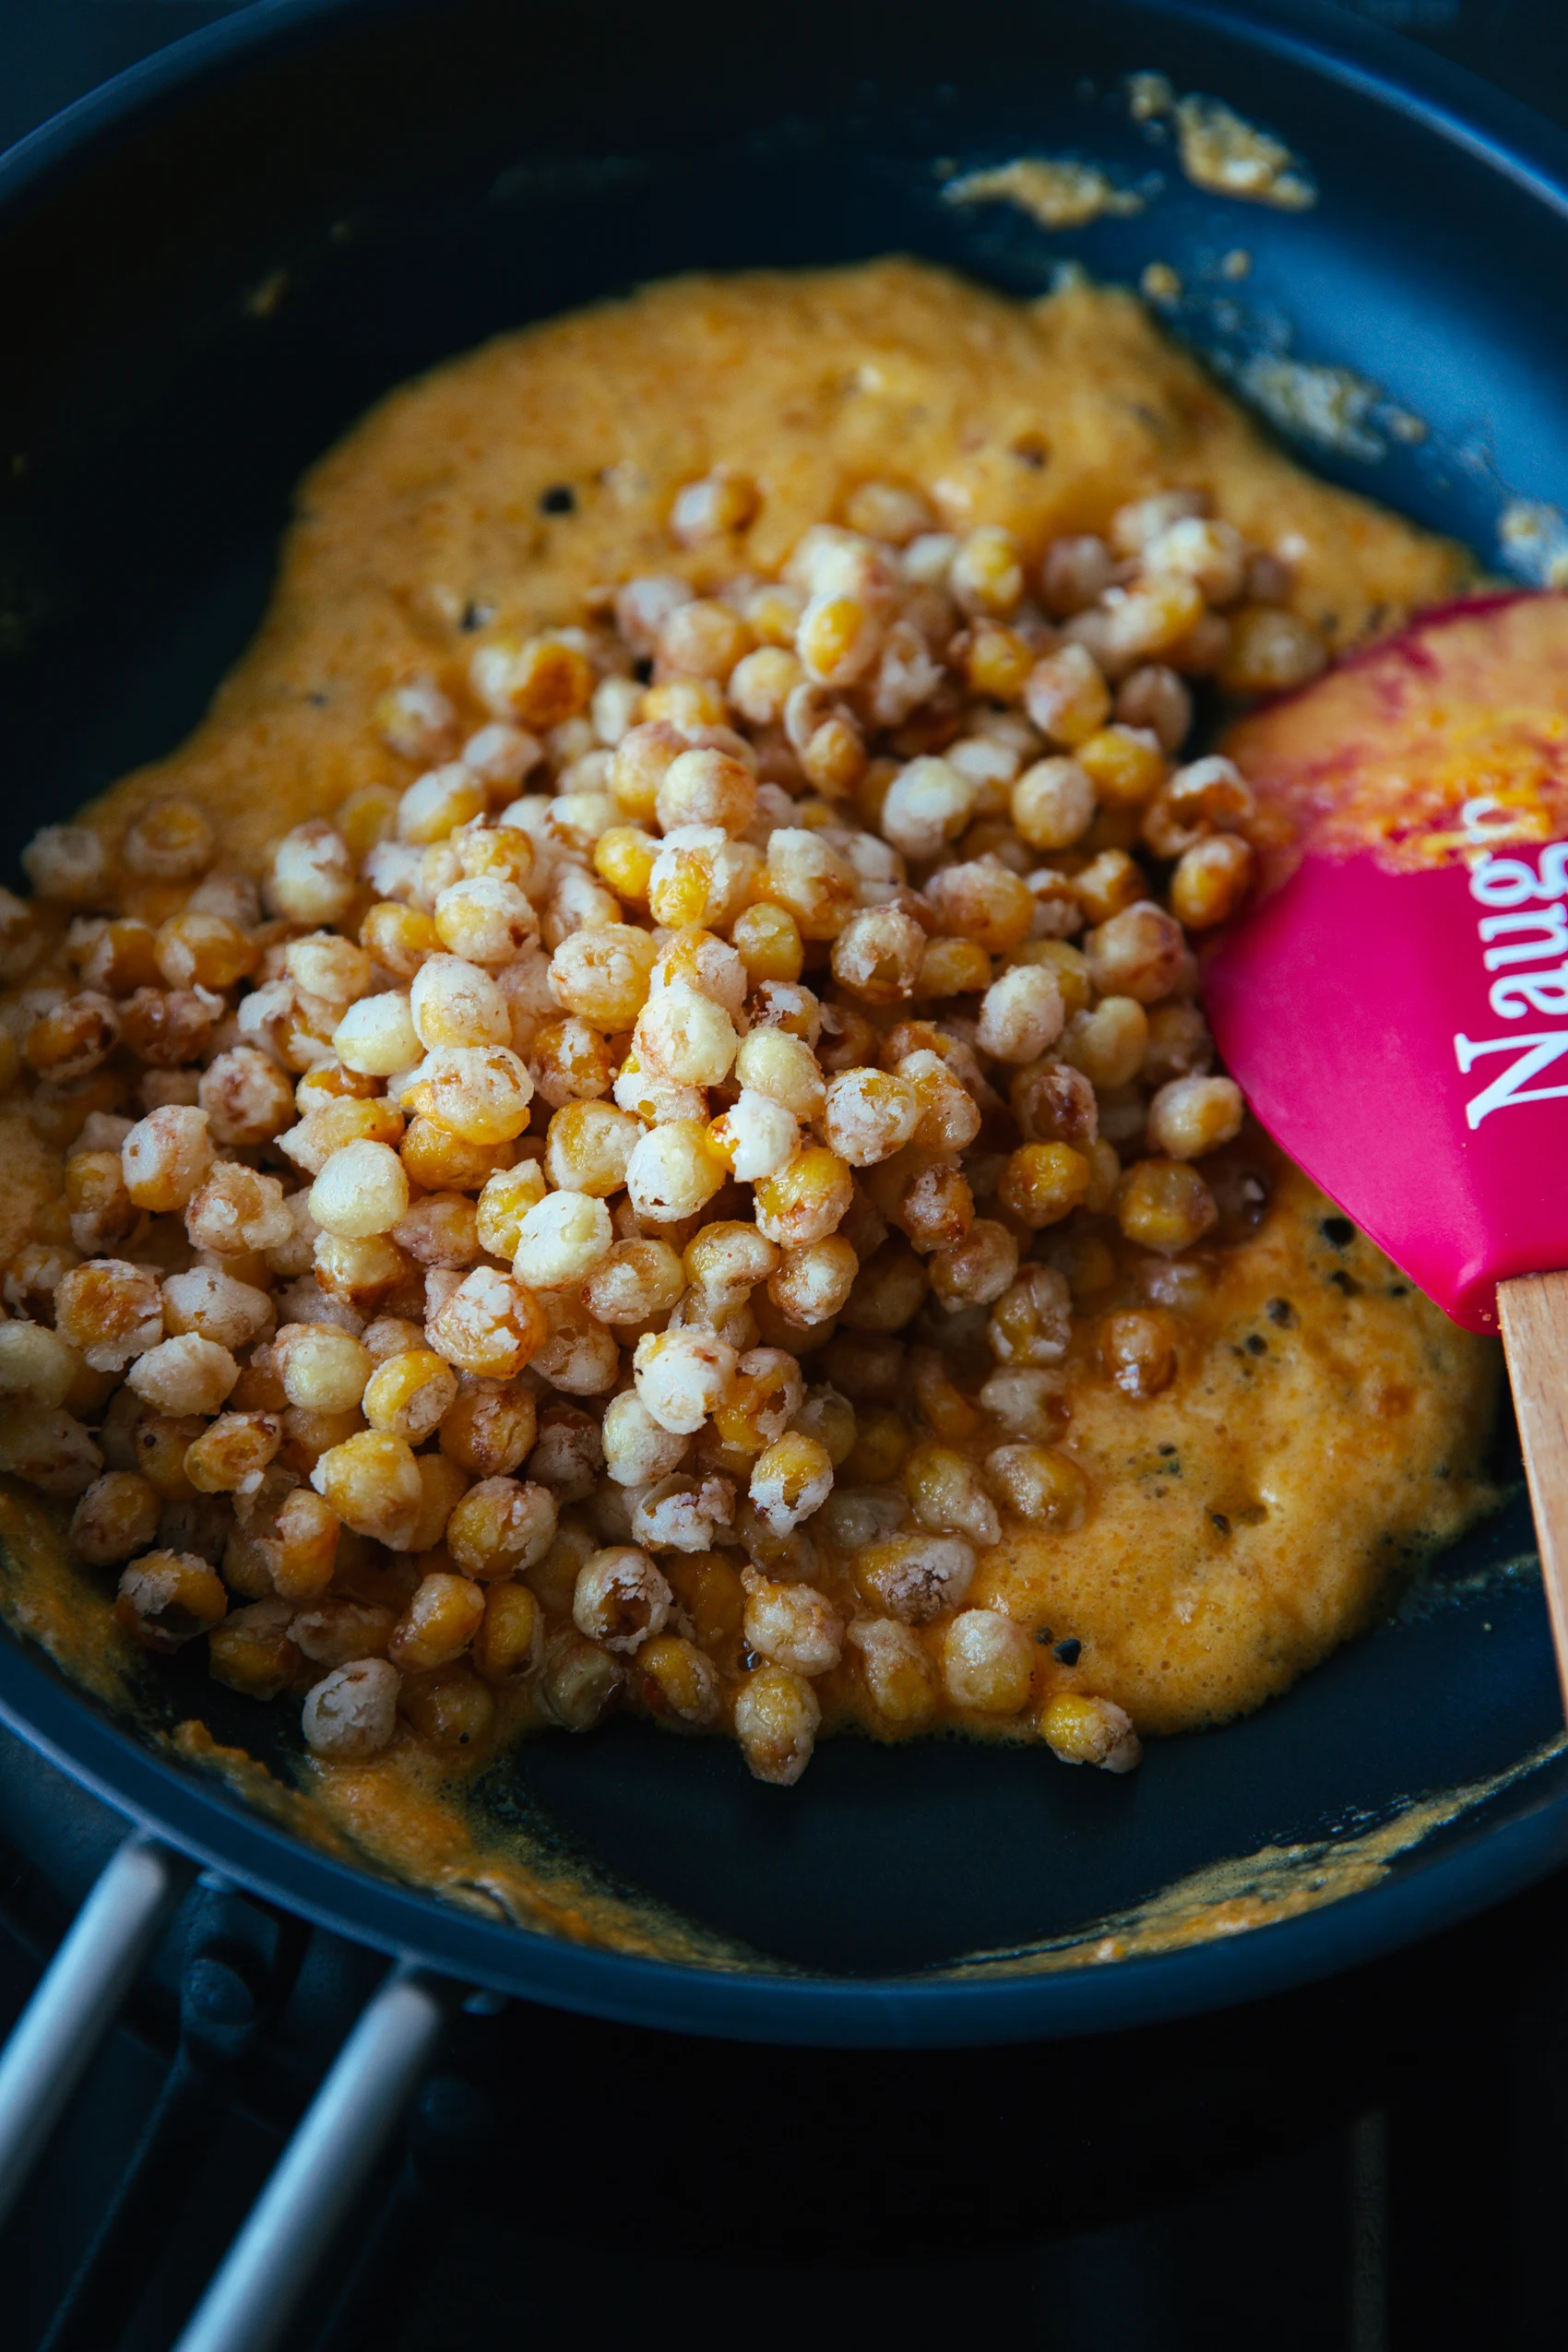
- Add about 1 tablespoon of oil to a wok and fry the salted egg yolk until fine bubbles form. Add a small pinch of salt.
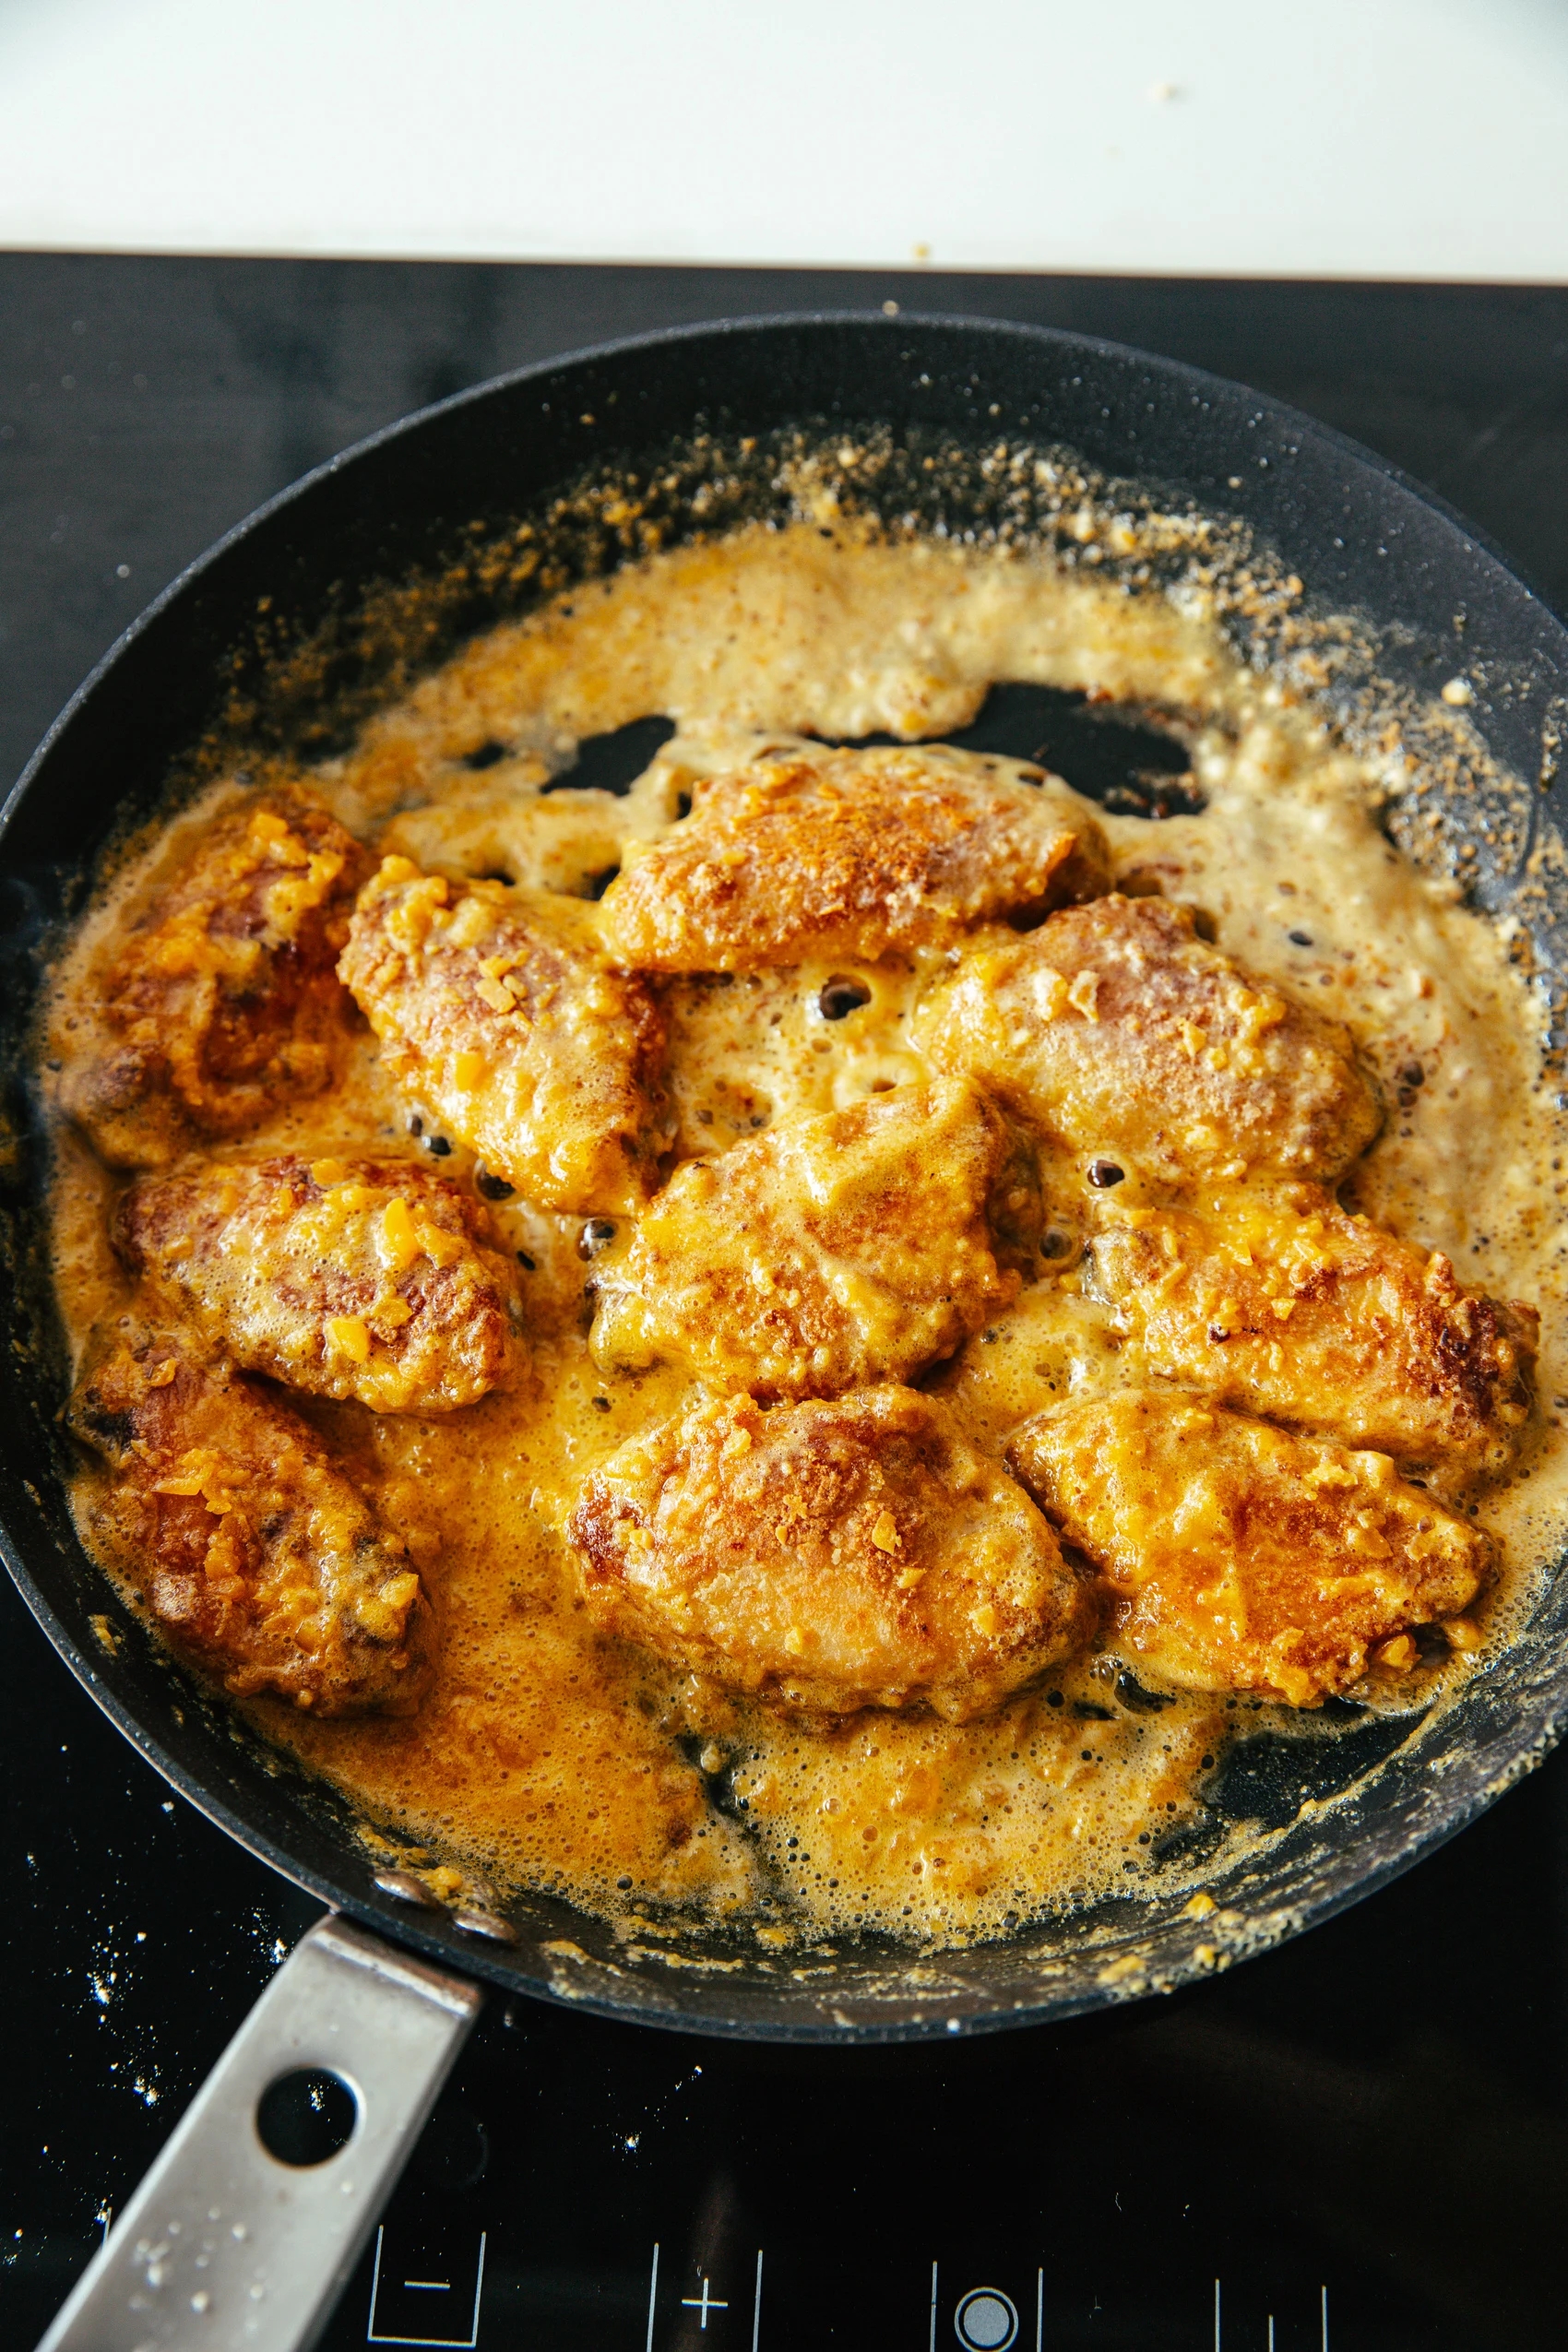
- Return the fried kernels, and move fast until each kernel is well coated with salted egg yolk.
Crispy Corn with Salted Egg Yolk
#wprm-recipe-user-rating-1 .wprm-rating-star.wprm-rating-star-full svg * { fill: #ffffff; }#wprm-recipe-user-rating-1 .wprm-rating-star.wprm-rating-star-33 svg * { fill: url(#wprm-recipe-user-rating-1-33); }#wprm-recipe-user-rating-1 .wprm-rating-star.wprm-rating-star-50 svg * { fill: url(#wprm-recipe-user-rating-1-50); }#wprm-recipe-user-rating-1 .wprm-rating-star.wprm-rating-star-66 svg * { fill: url(#wprm-recipe-user-rating-1-66); }linearGradient#wprm-recipe-user-rating-1-33 stop { stop-color: #ffffff; }linearGradient#wprm-recipe-user-rating-1-50 stop { stop-color: #ffffff; }linearGradient#wprm-recipe-user-rating-1-66 stop { stop-color: #ffffff; }
Ingredients
- 200 g corn
- cornstarch as needed
- oil for deep-frying
- 3-5 salted egg yolks
ul.wprm-advanced-list-5699 li:before {background-color: #000000;color: #ffffff;width: 18px;height: 18px;font-size: 12px;line-height: 12px;}
Instructions
-
Boil 1 pot of water, then blanch the kernels for about 1 minute. This will add some moisture to the surface, allowing further attachment of cornstarch.
-
Add cornstarch in batches, each time after adding, shake the plate to make sure each of the cornstarch is well coated.
-
But the points changed if you use frozen kernels. For frozen ones, remember to drain excess water to ensure crispiness.
-
Now, prepare a pot of oil and heat it to around 180 degrees C. There will be fine bubbles if you insert a chopstick. Fry the kernel for around 1 mimute by batches.
-
Then let’s fry it once again- remove all of the kernels and any of the remaining. Turn the oil temperature up to around 200 degrees C, then place all of the fried kernels in, and fry for another 10 seconds. The second frying makes it even crisper and removes the fatty taste by draining the oil absorbed during the first fry.
-
Steam the salted egg yolk for about 10 minutes, then finely chop it.
-
Add a small amount of oil, around 1 tablespoon, to a wok and fry the salted egg yolk until you can see fine bubbles.
-
Return the fried kernels, and move fast until each kernel is well coated with salted egg yolk.